How To Add/Create An Individual Shift
Scenarios:
You are using the Roster and within the Calendar area.
You want to know how to create or add an individual shift to the Roster.
This document assumes the following:
You are an active Enrolmy user.
You know how to navigate the Roster.
You have created a Roster template.
You have applied a Roster template to an activity.
Creating A Shift
You should know that you can create a shift and add it to the Roster at any time, including if a Roster is already published for an approval period.
Select Roster within the menu, and then Calendar
Use the Activities drop-down and select the activity that where you would like to add a shift to.
.png?inst-v=8926a06b-5d54-49ca-9b5c-025458cee6b8)
Choose Create Shift
.png?inst-v=8926a06b-5d54-49ca-9b5c-025458cee6b8)
The activity you selected will auto-appear in the drop-down. However choose another activity if you need using the Activity drop-down field.
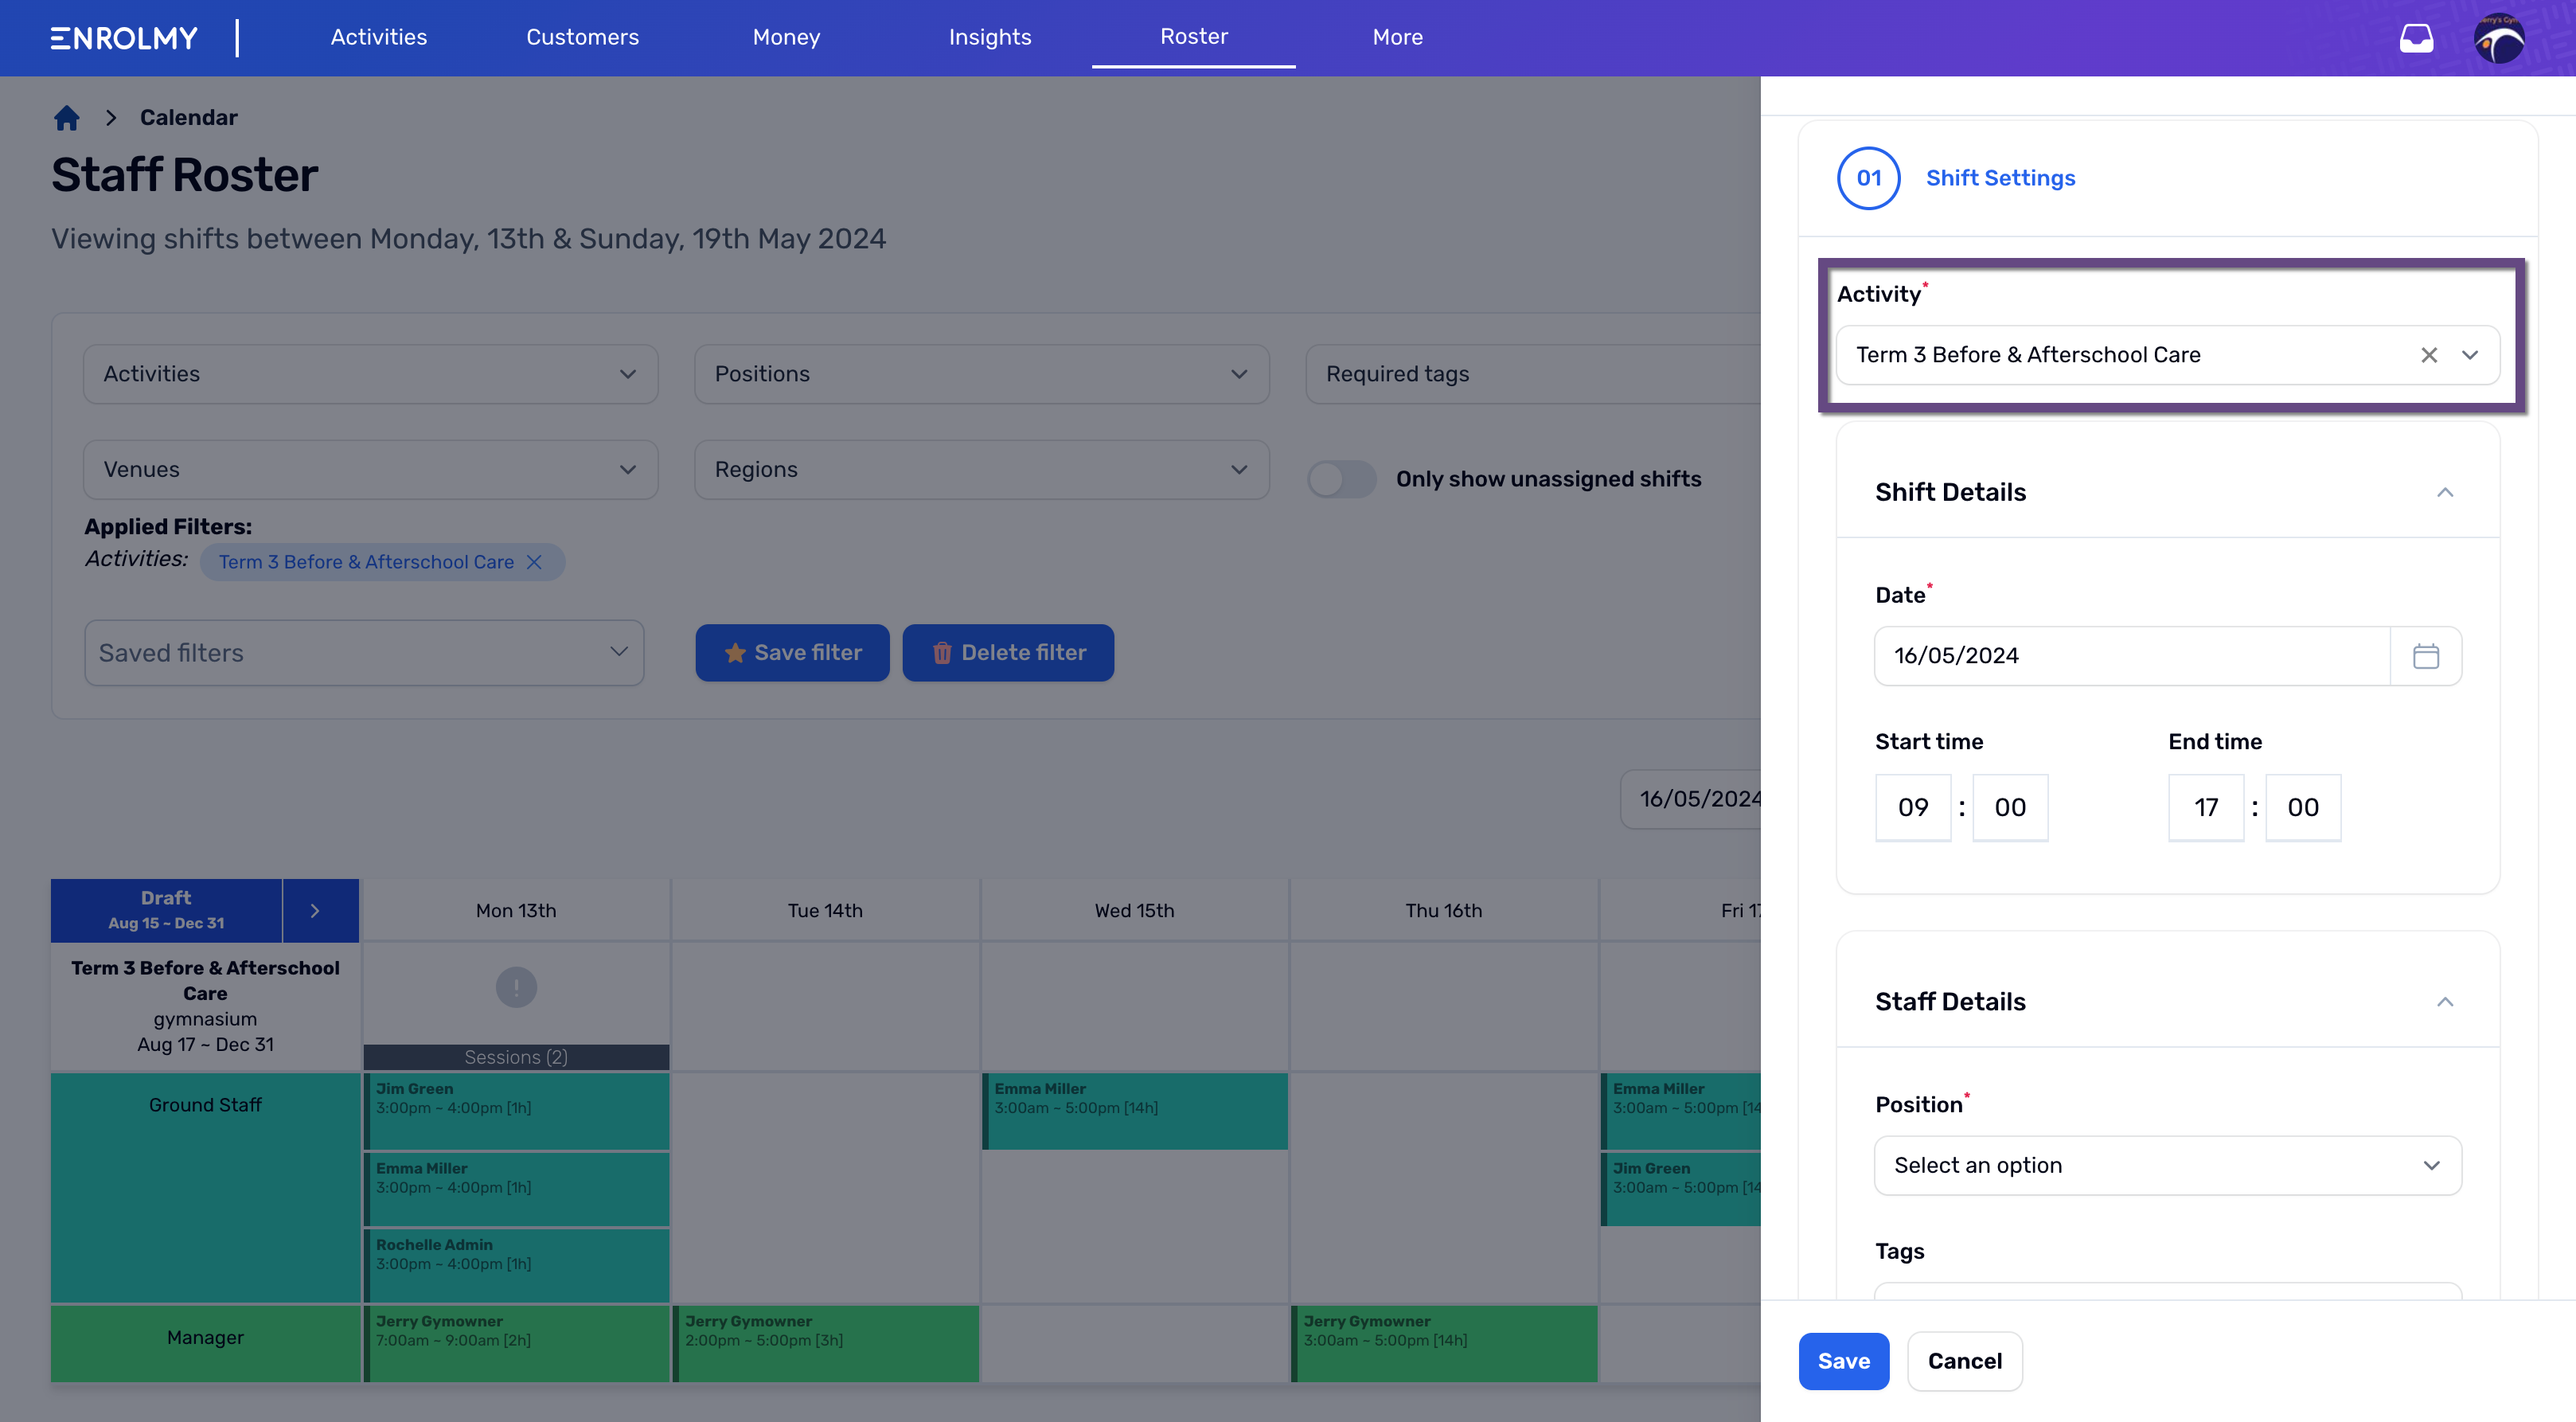
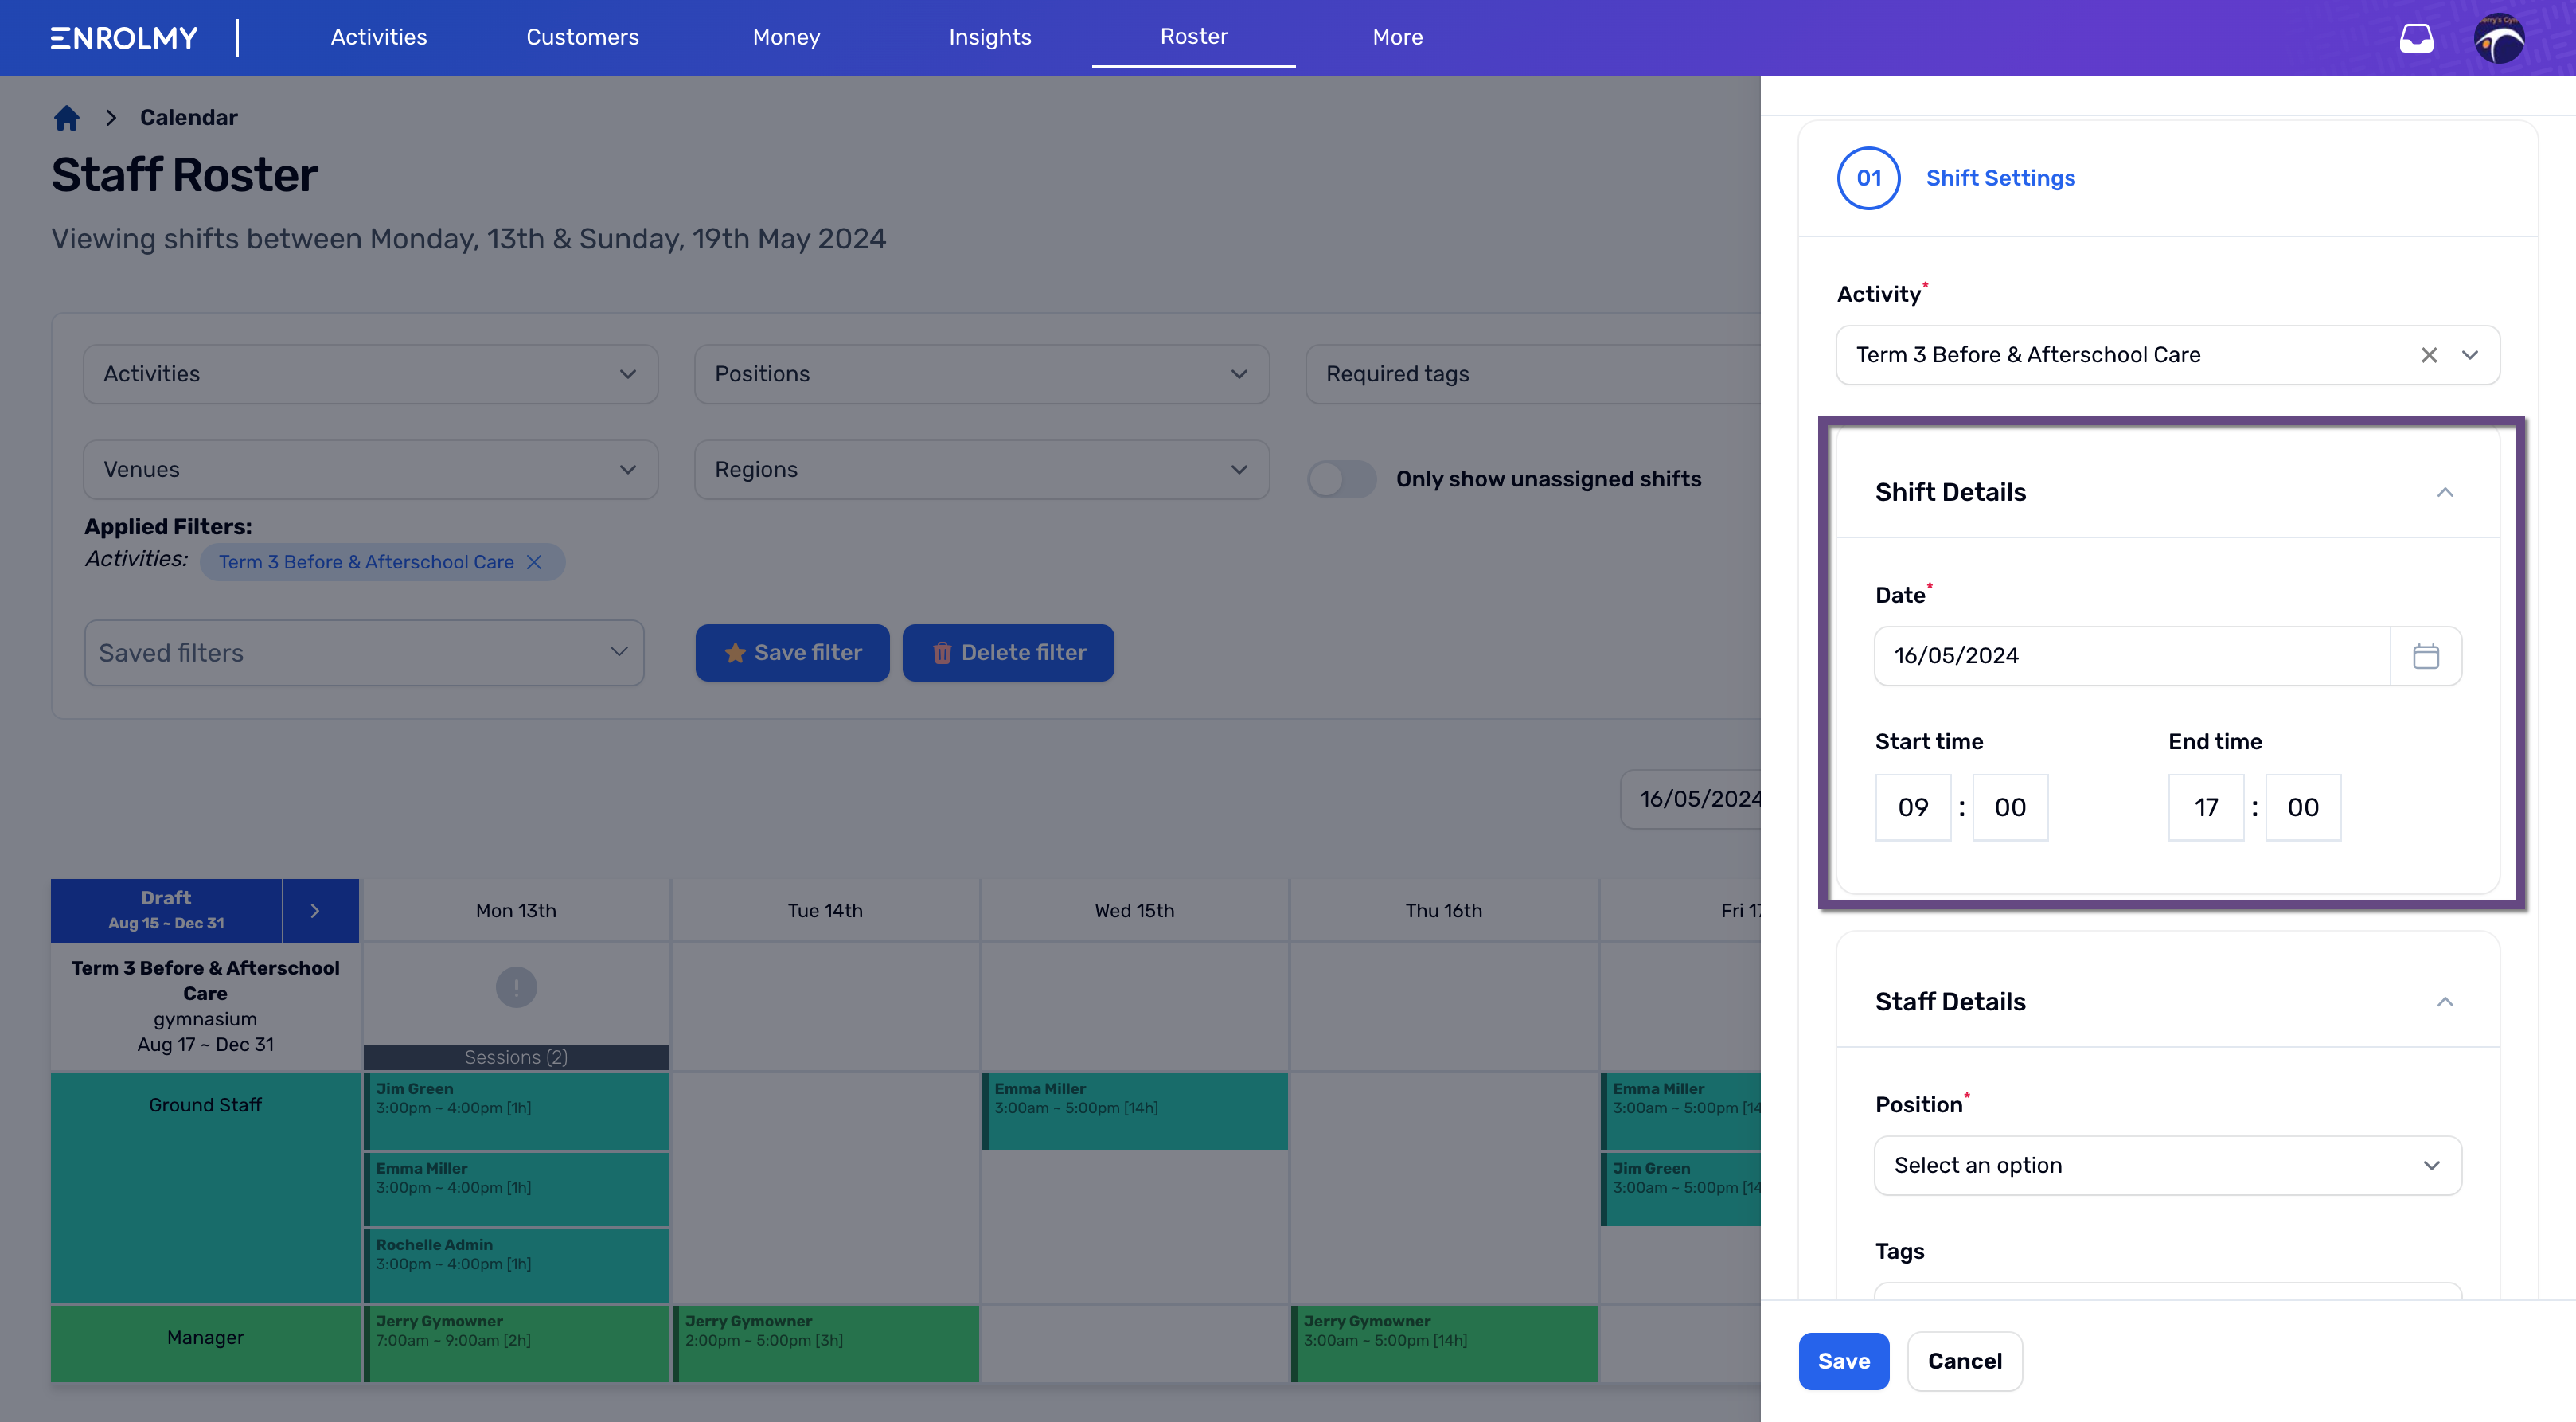
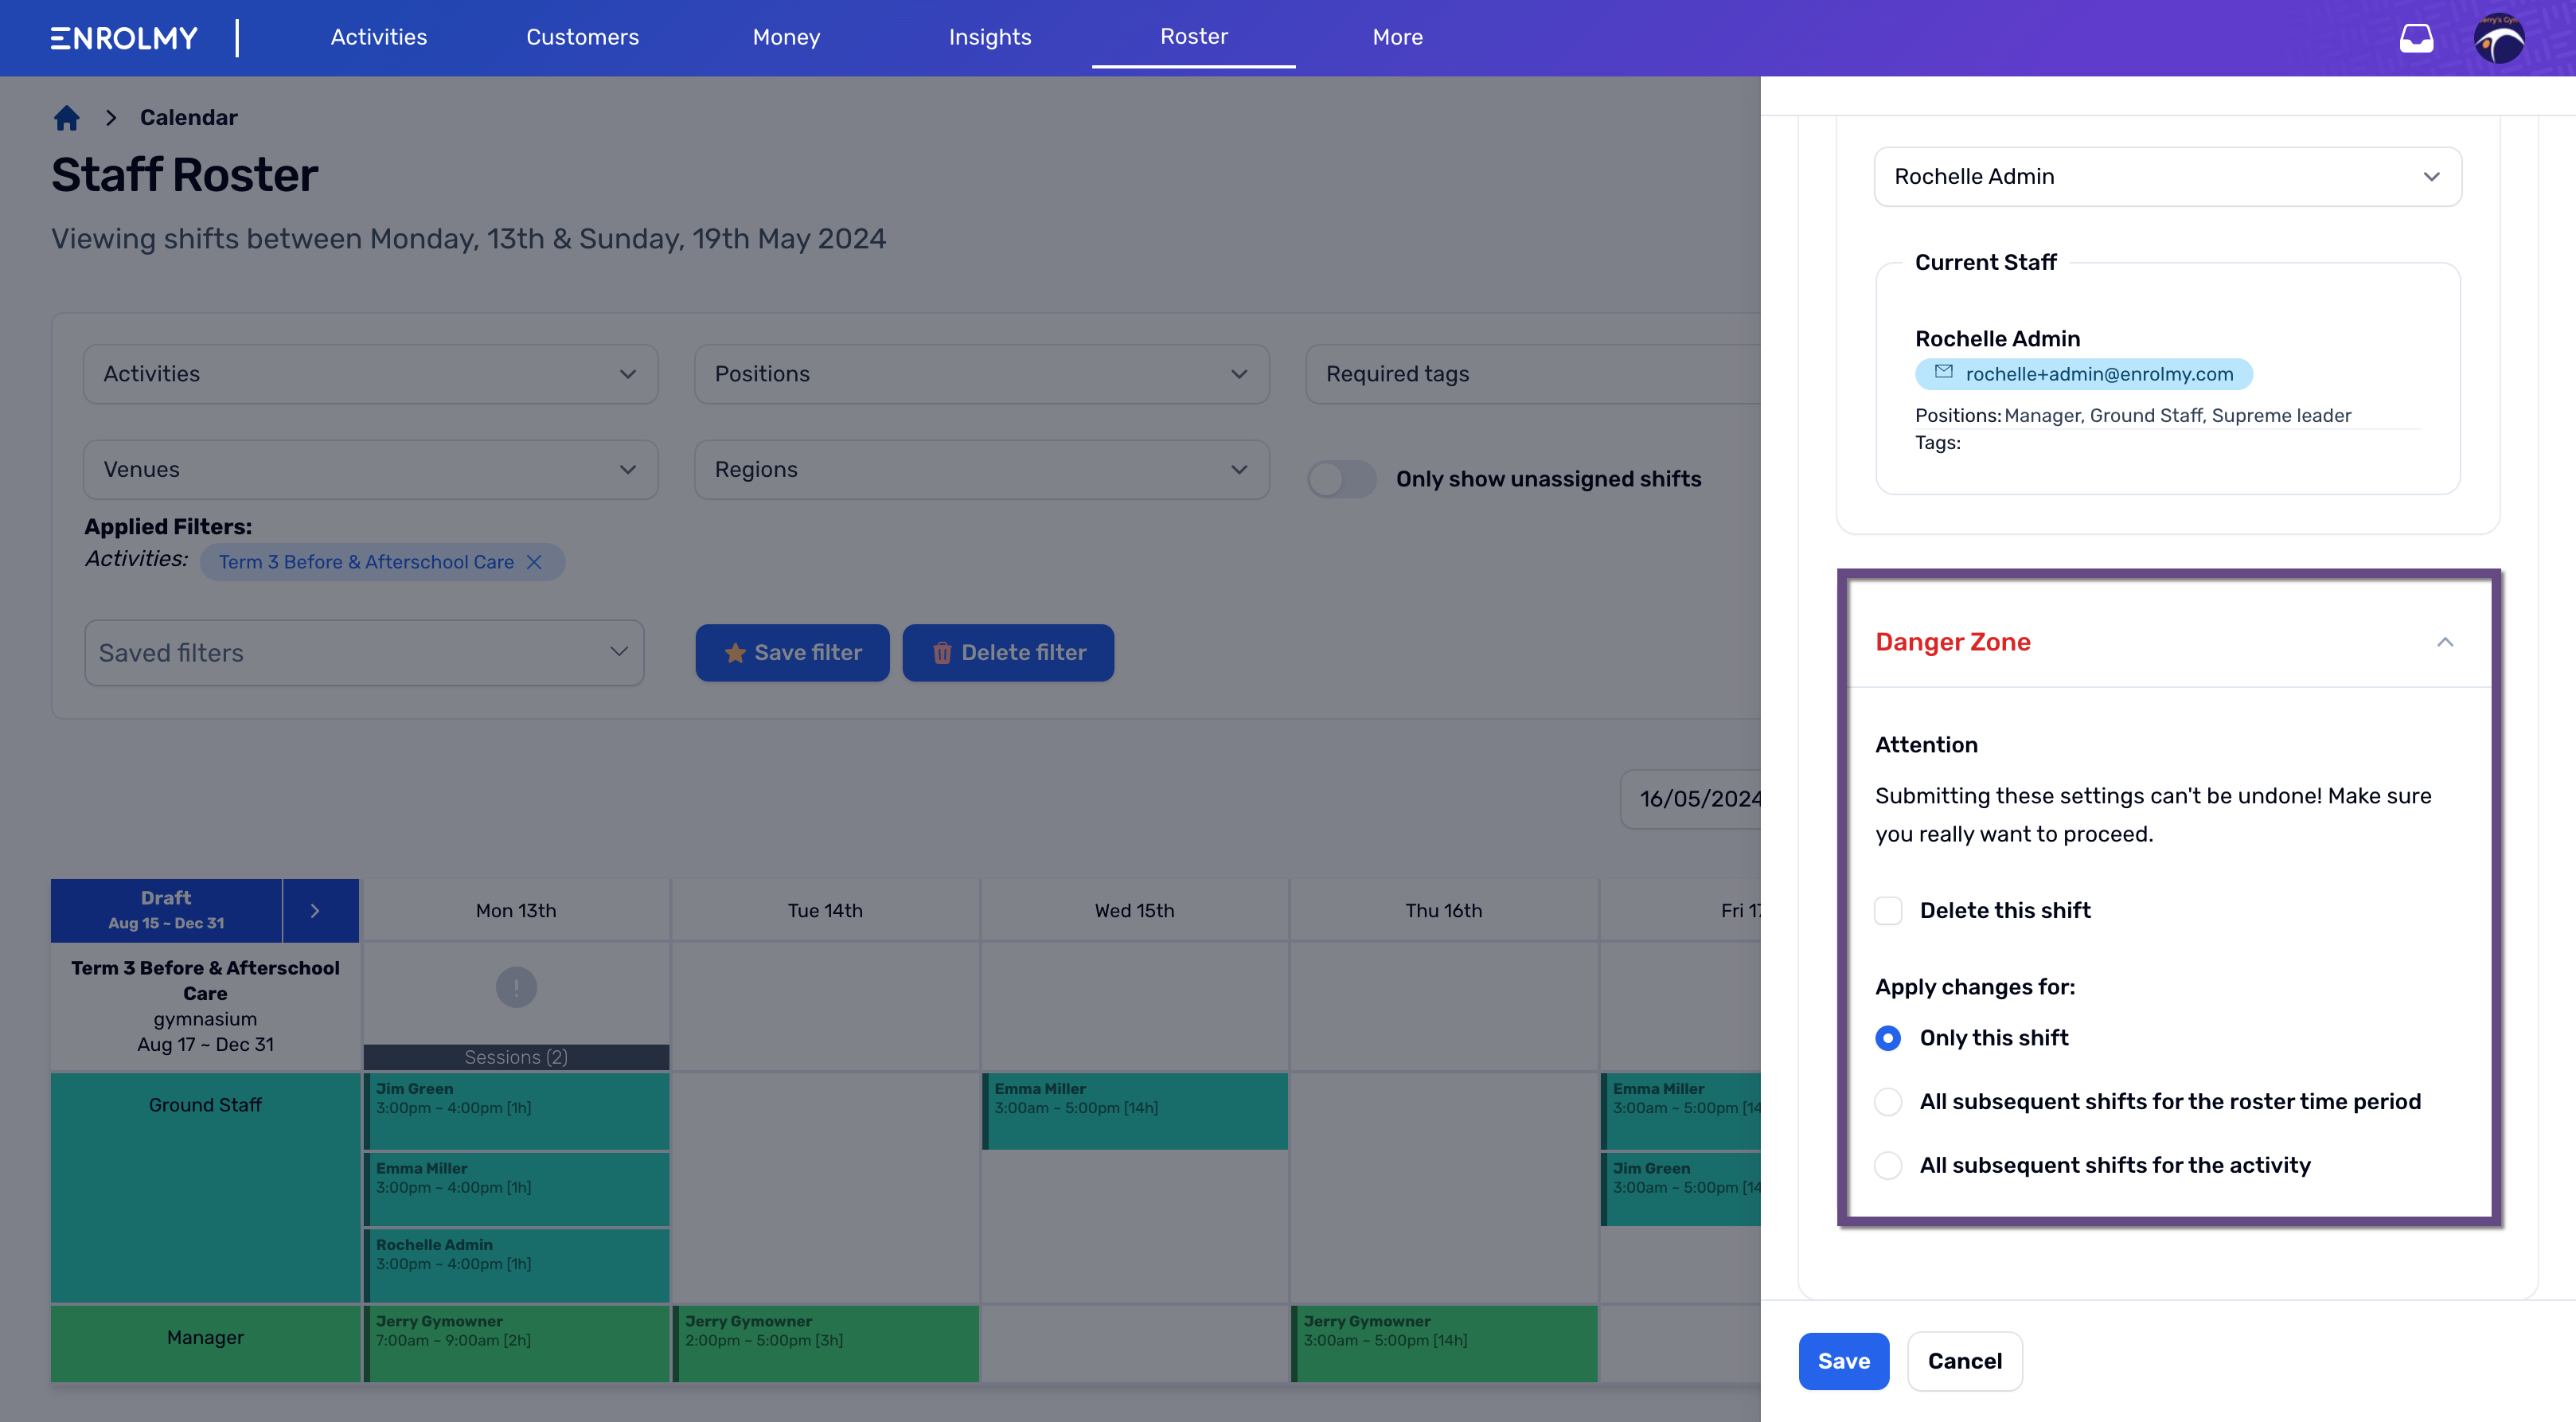
Carefully complete the Shift Details to add the Date of the activity that you want to add a shift on. Also choose the Start and End time of the shift.
Choose the Position that you need to fill for this shift.
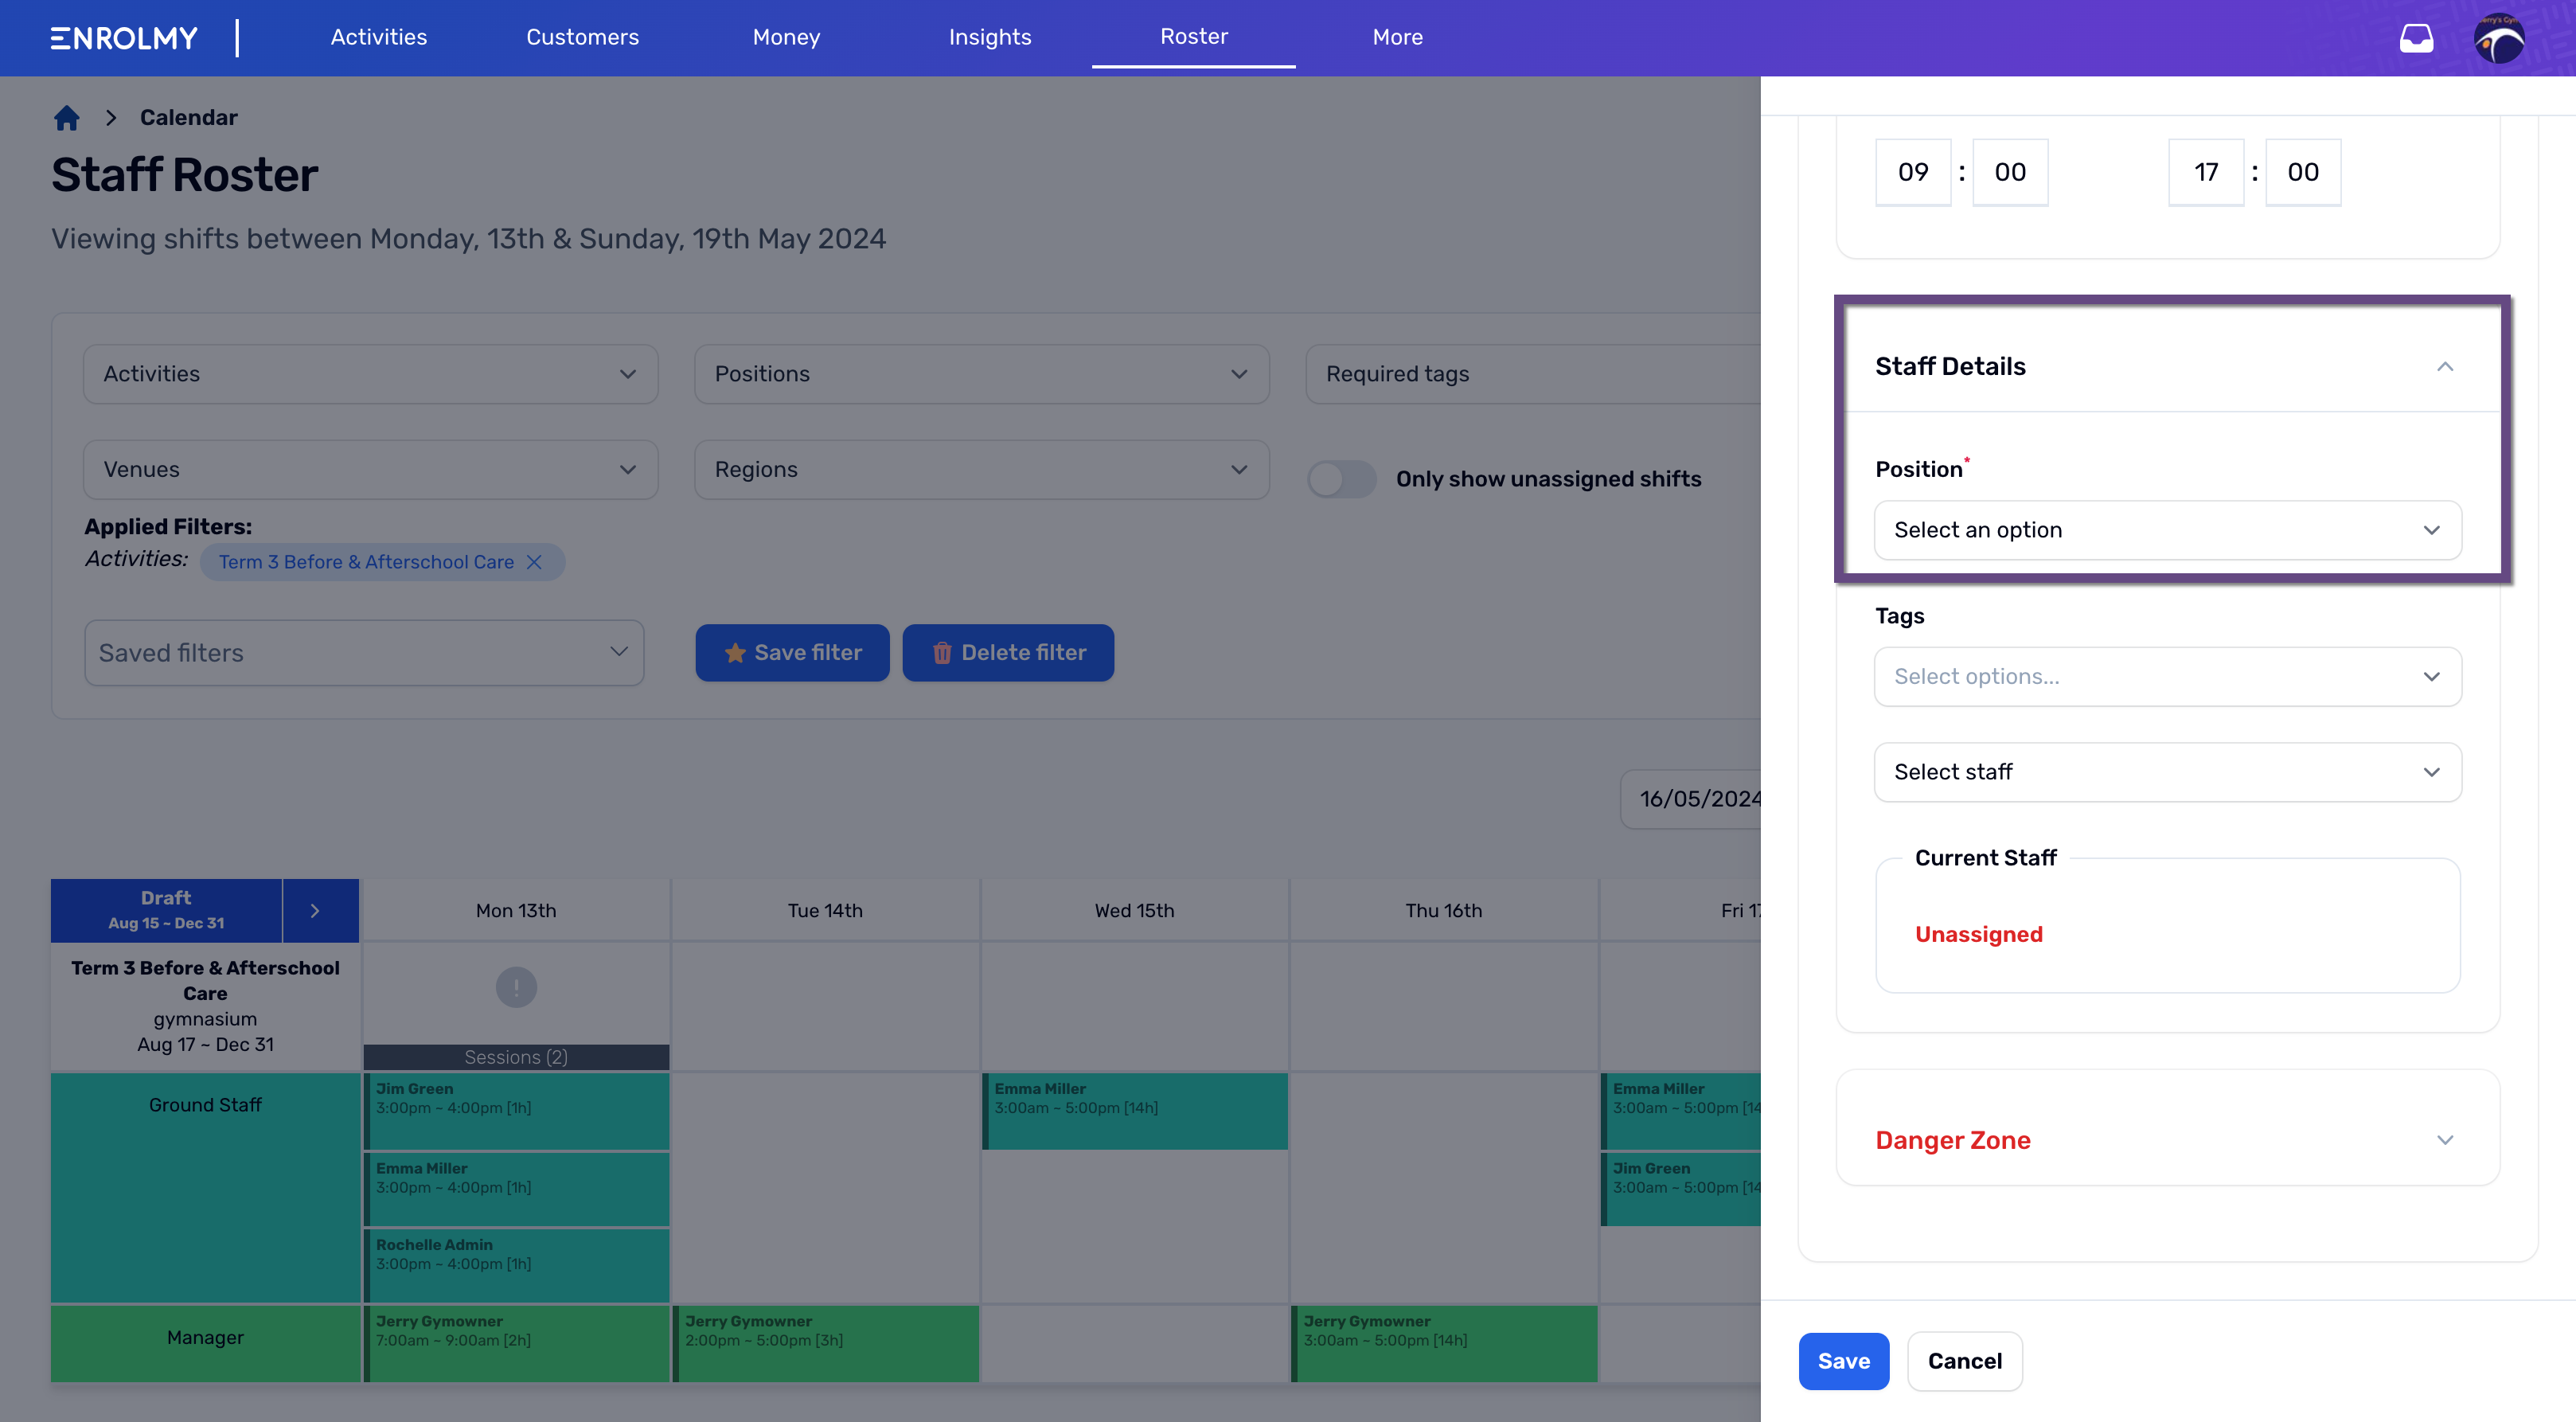
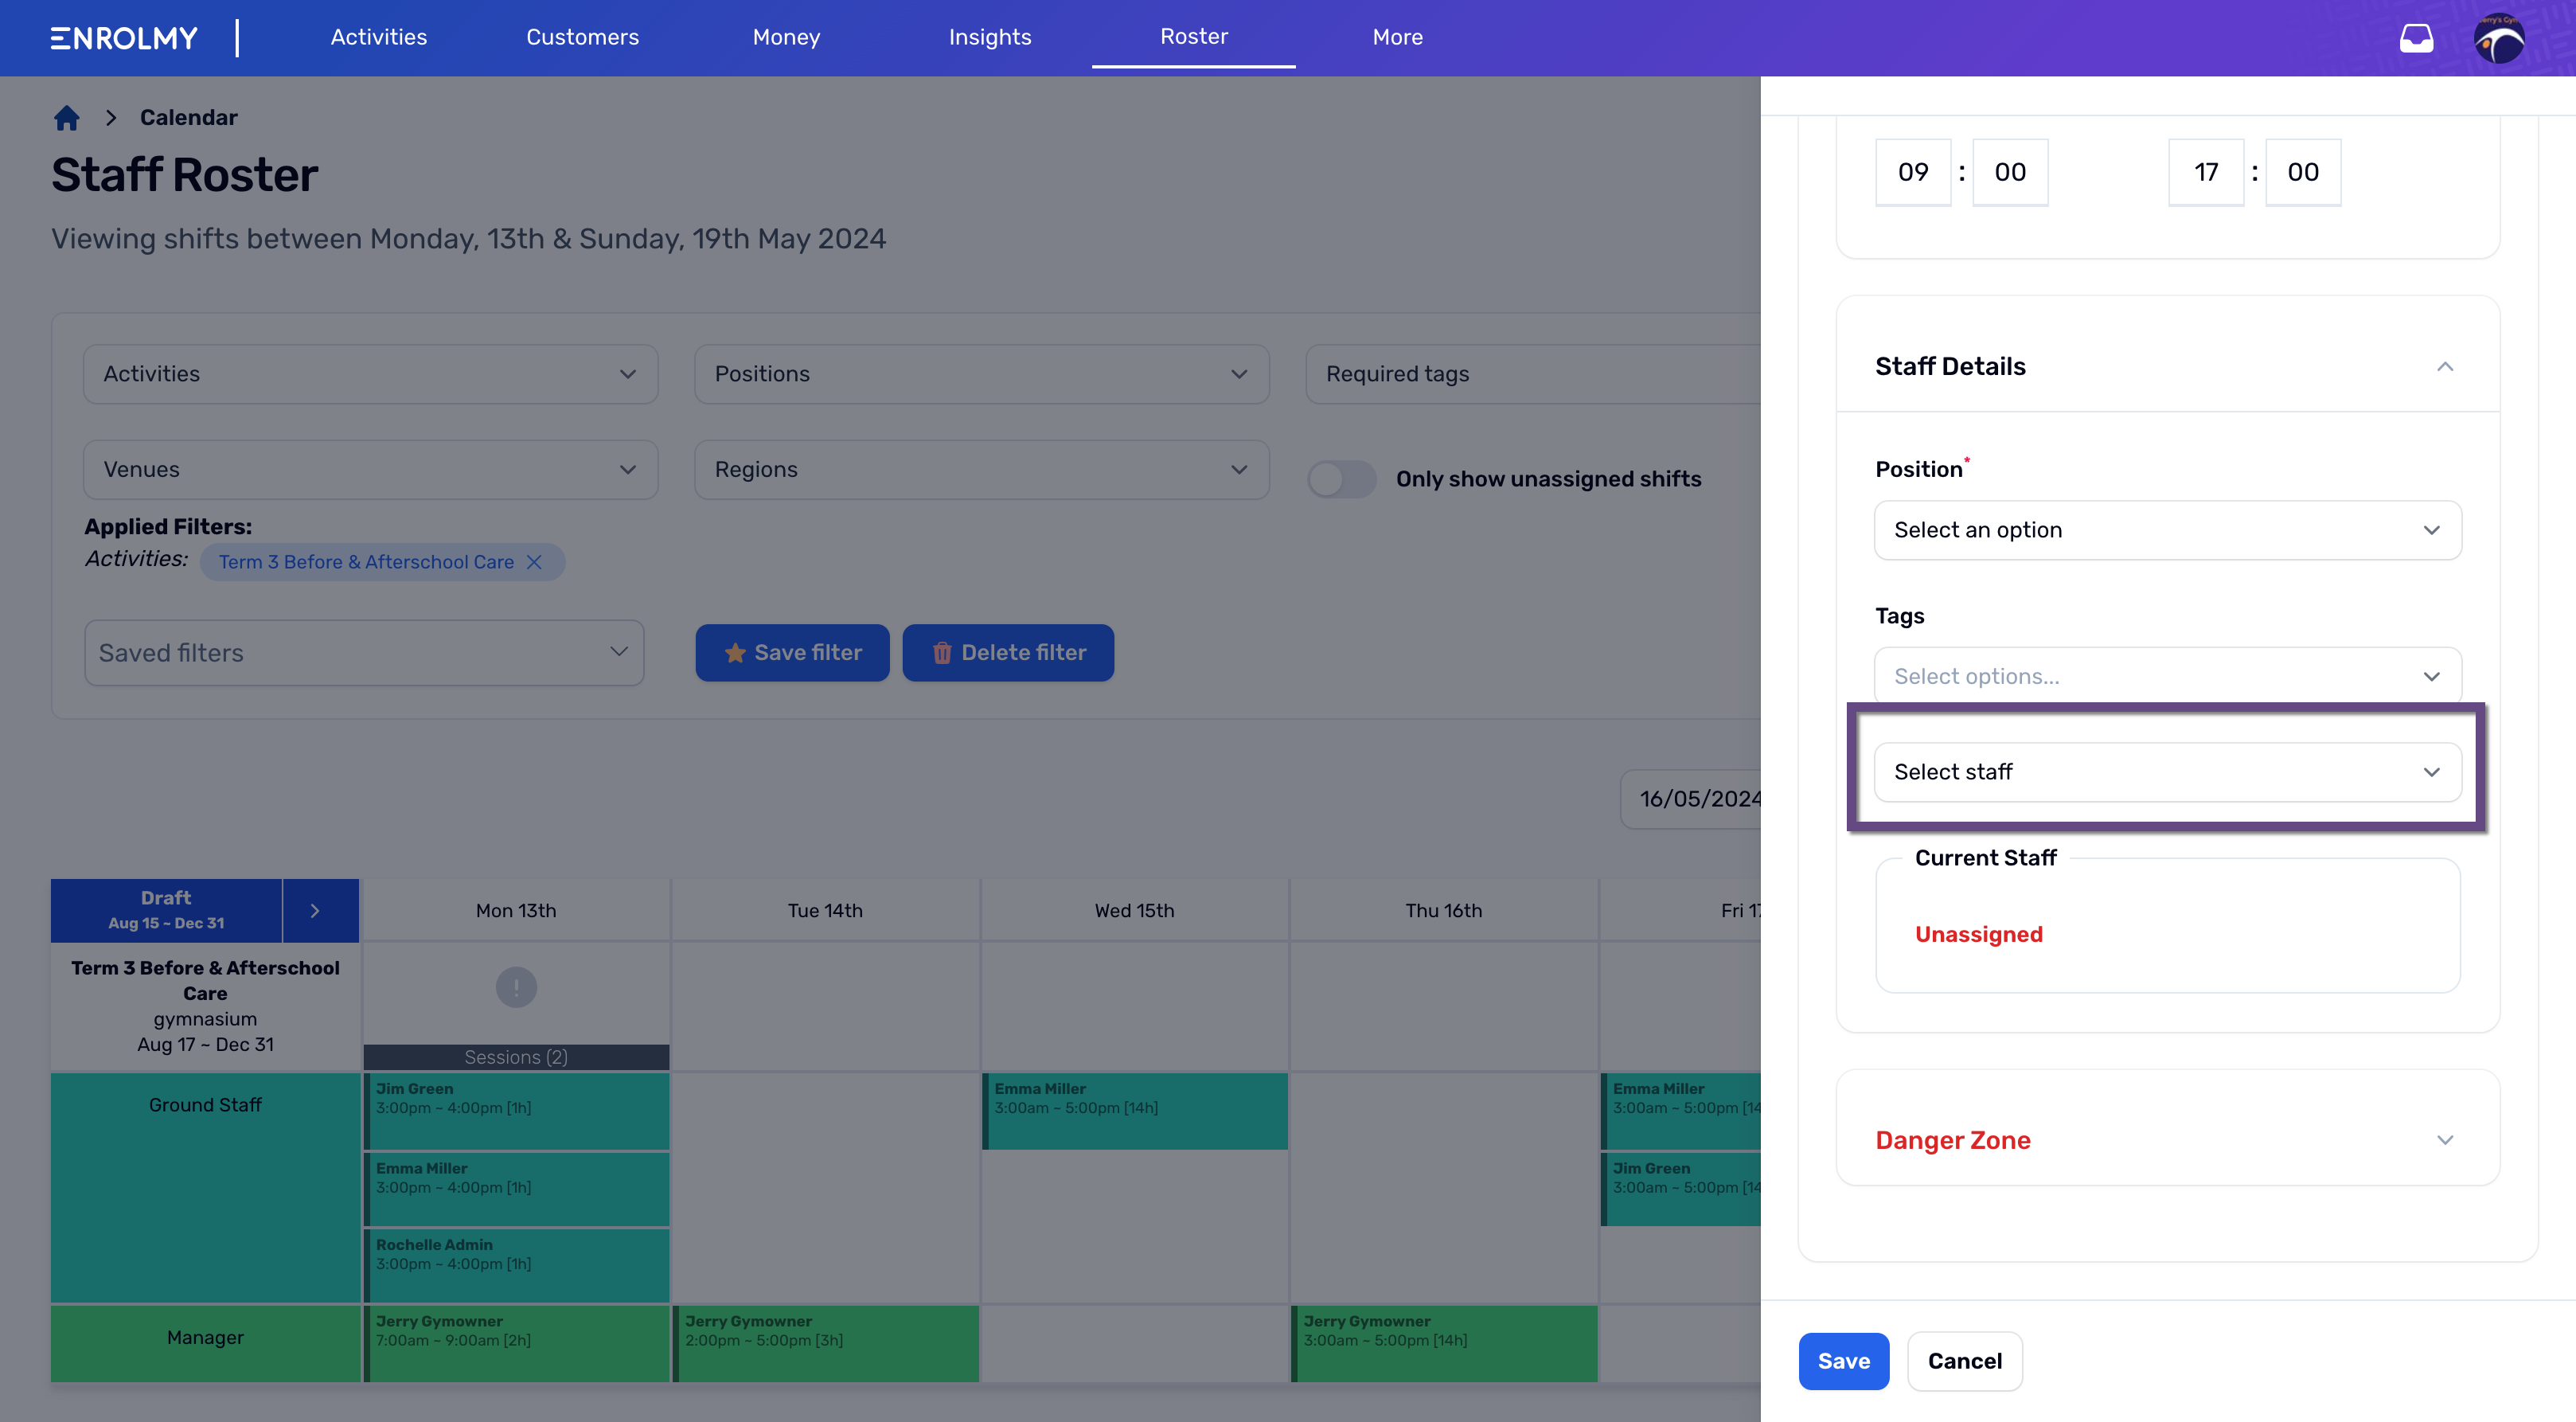
Now use the drop-down to select the staff member that should fill this position in the shift.
The Danger Zone options will allow you to add this shift to the roster for;
Only this shift (default option)
All subsequent shifts for the roster time period
All subsequent shifts for the activity
Select Save once you have completed the shift details
You will now see the shift added to the Roster. Select the Draft arrow to re-publish this Roster.
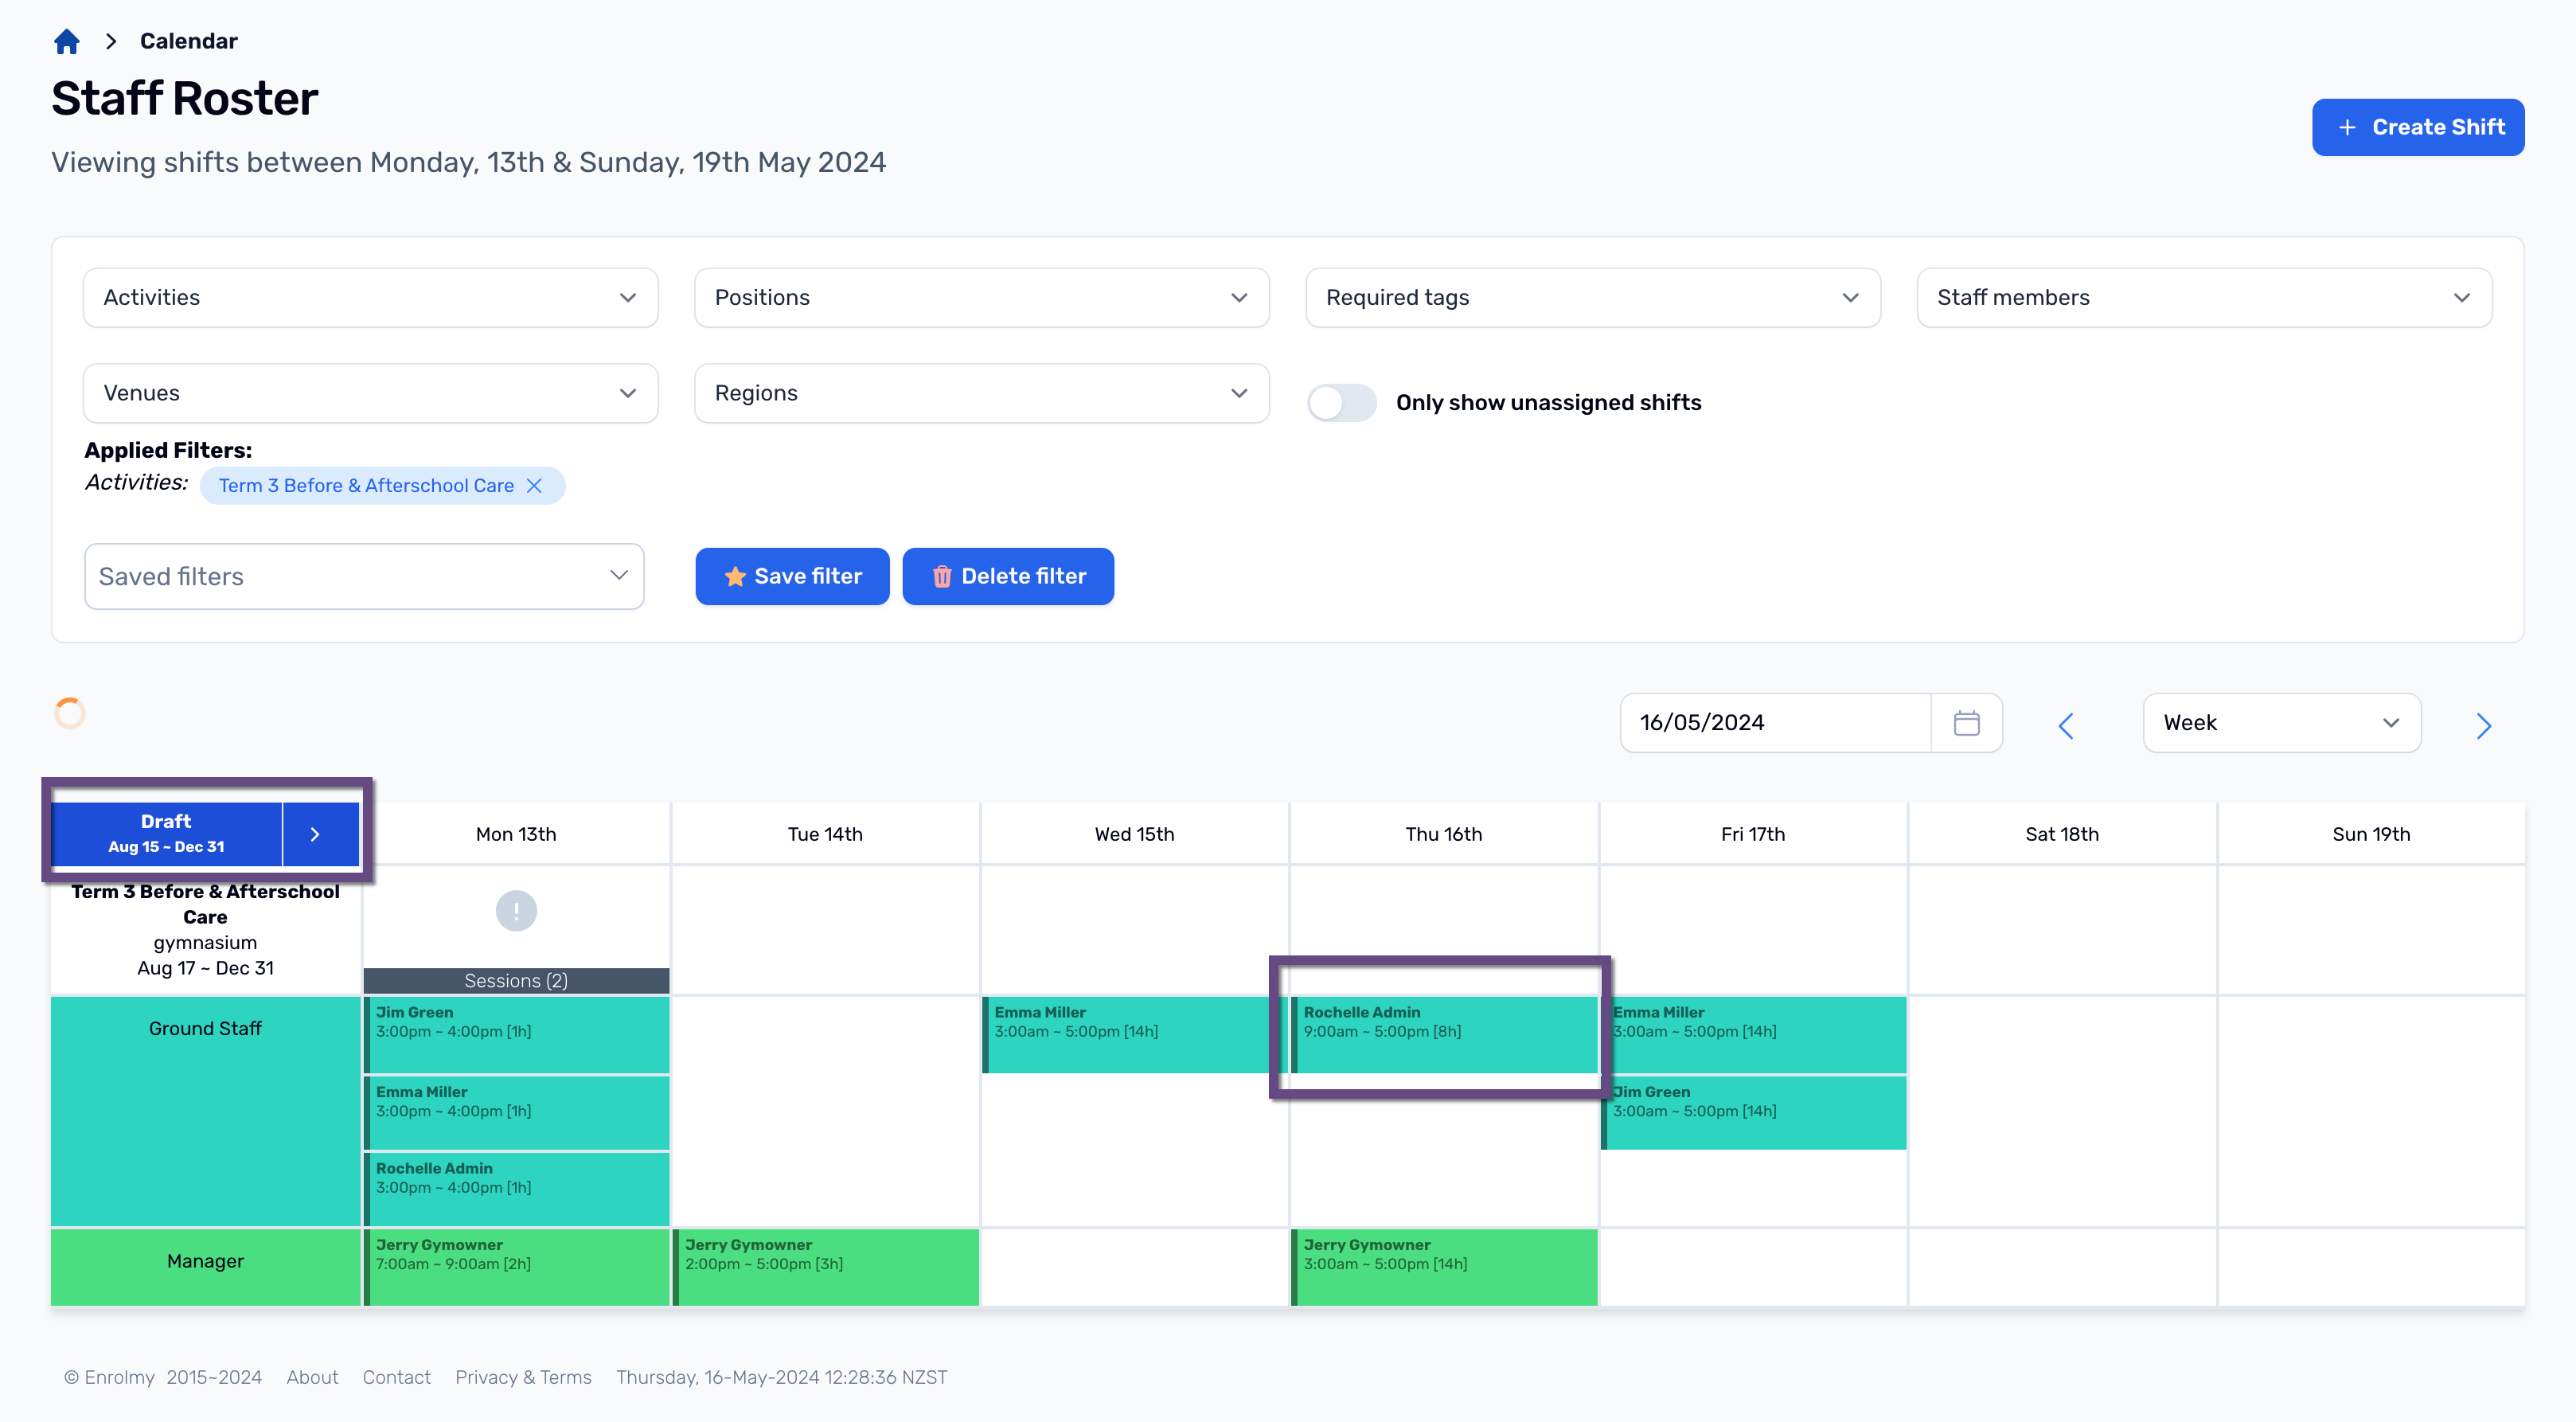
Awesome! Now you know how to publish a roster for an activity. You will see that during a published Approval Period timeframe, the Roster will state that it is Published on the Calendar.
.png?inst-v=8926a06b-5d54-49ca-9b5c-025458cee6b8)
Last updated