How To Create Personal Email Templates
Scenarios:
You want to create an email template on Enrolmy
You want to know how to apply a created template to an email
This document assumes you know the following:
How to navigate the Communication section in Enrolmy
How to send emails from the activities, customer and money tab in Enrolmy
How To Create a Personal Email Template
Navigate to the Communication tab and click Modify Templates.
Click on the Personal Templates tab.
Select the New Personal Template button to create a personal email template.

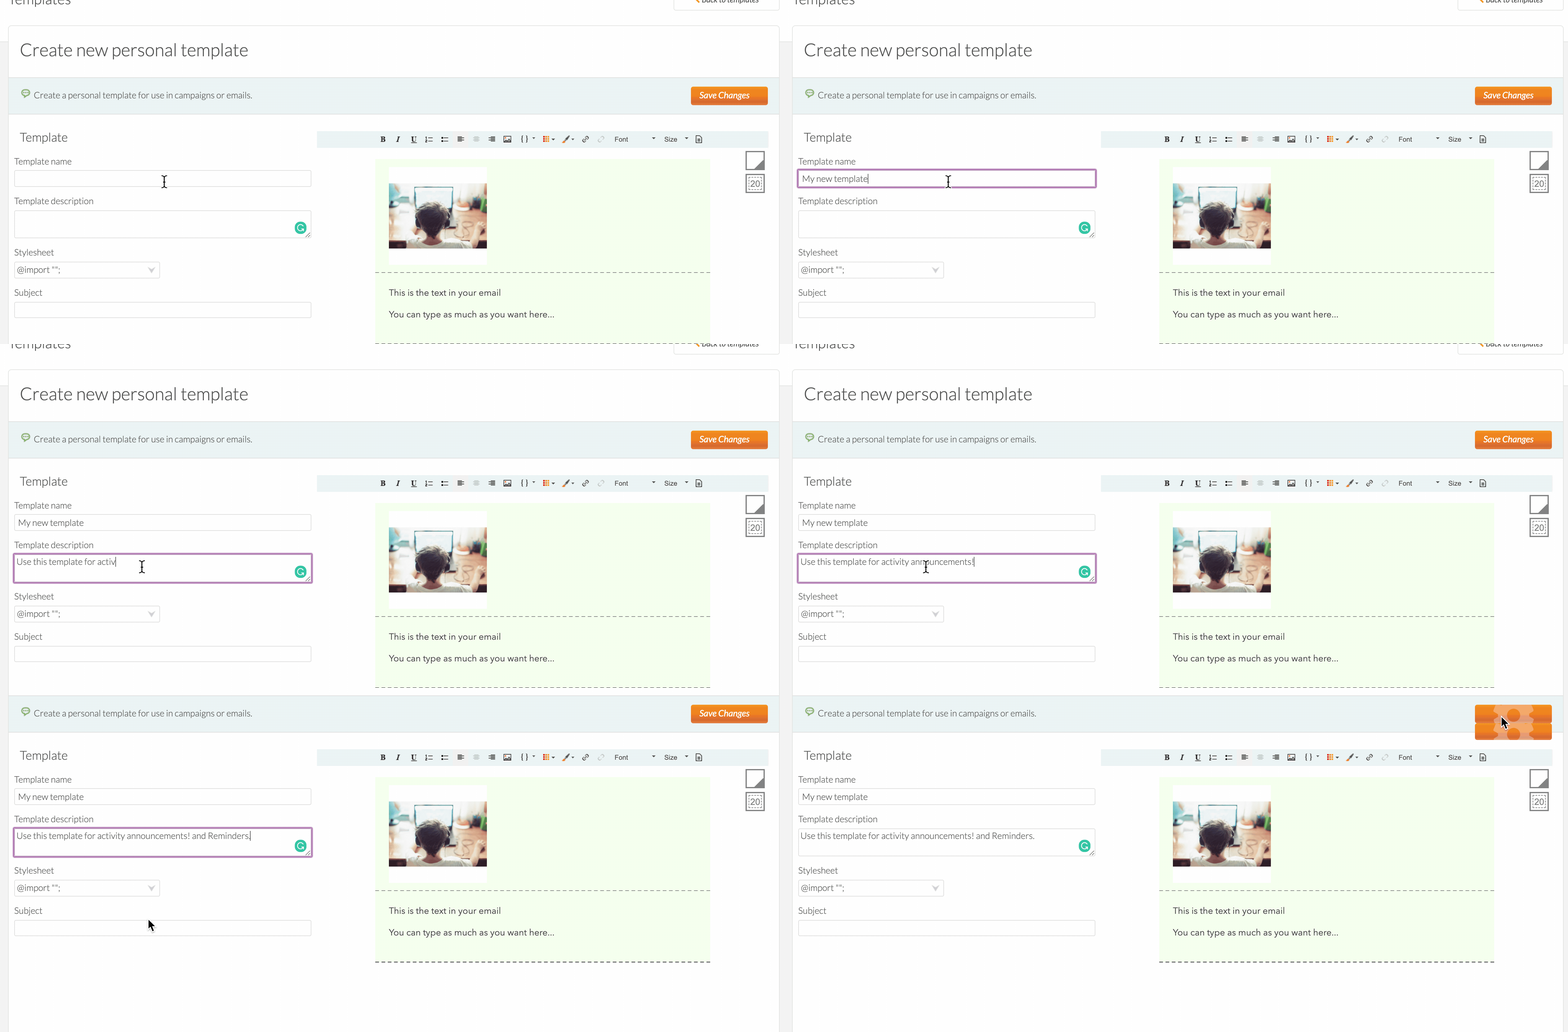
Enter your email template name and description:
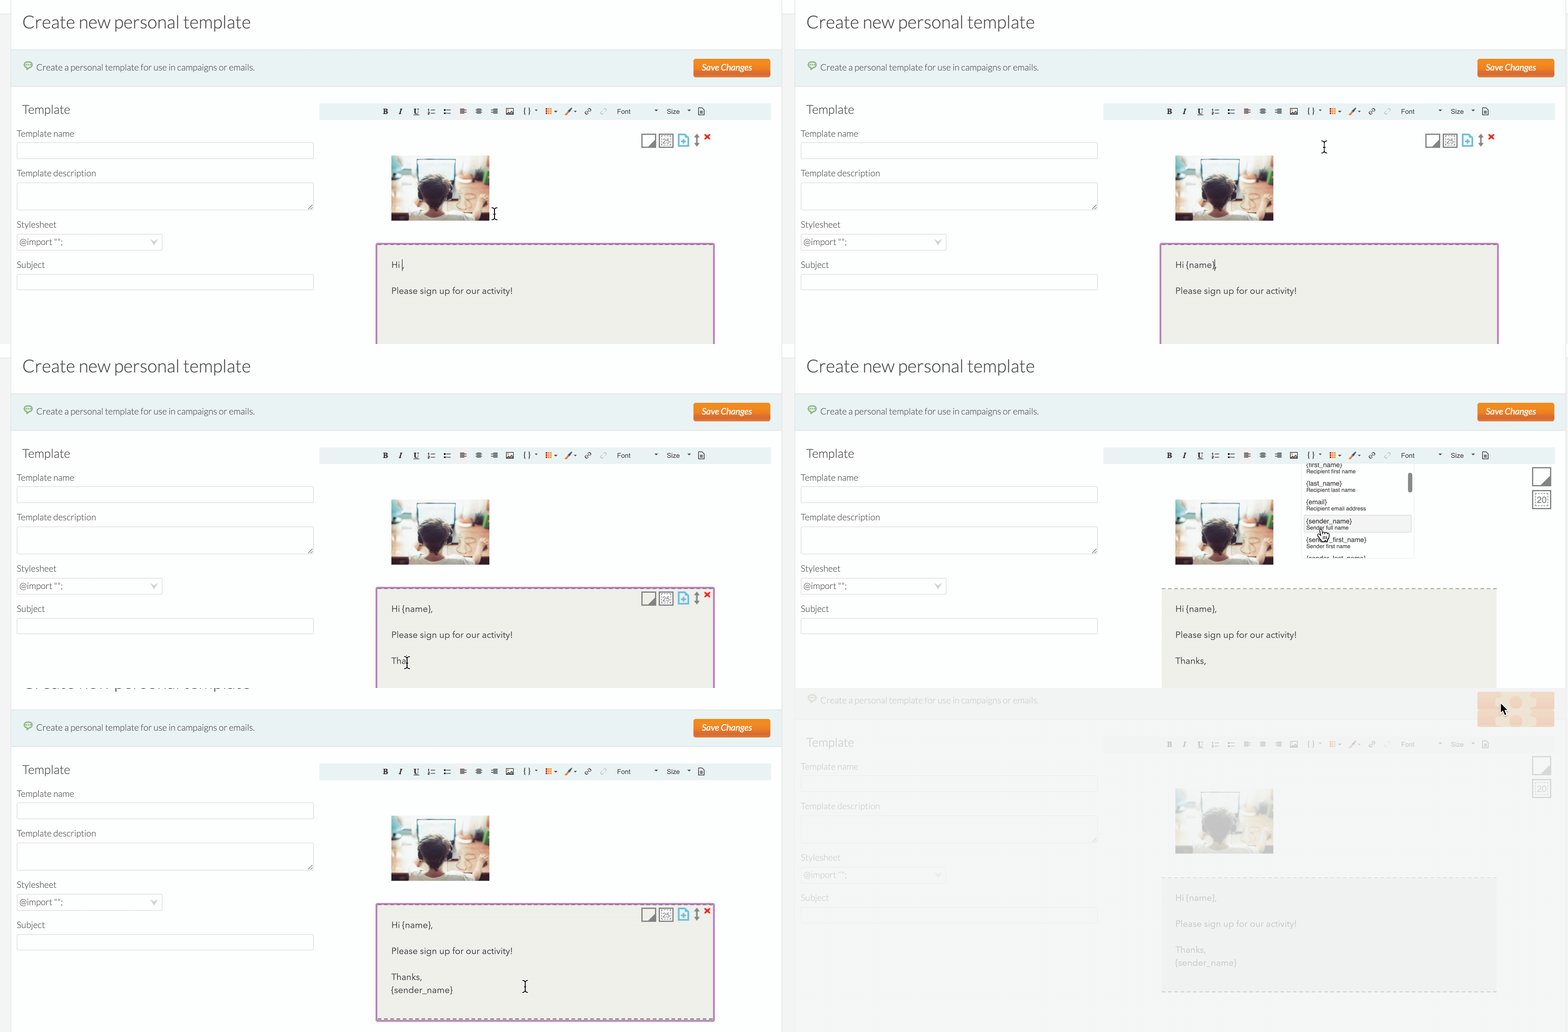
Enter your text into the grey block as shown below:
Use the curly brackets button on the top panel to personalise your email template to each customer.
You need to click the right arrow to continue typing after you select the curly bracket item.
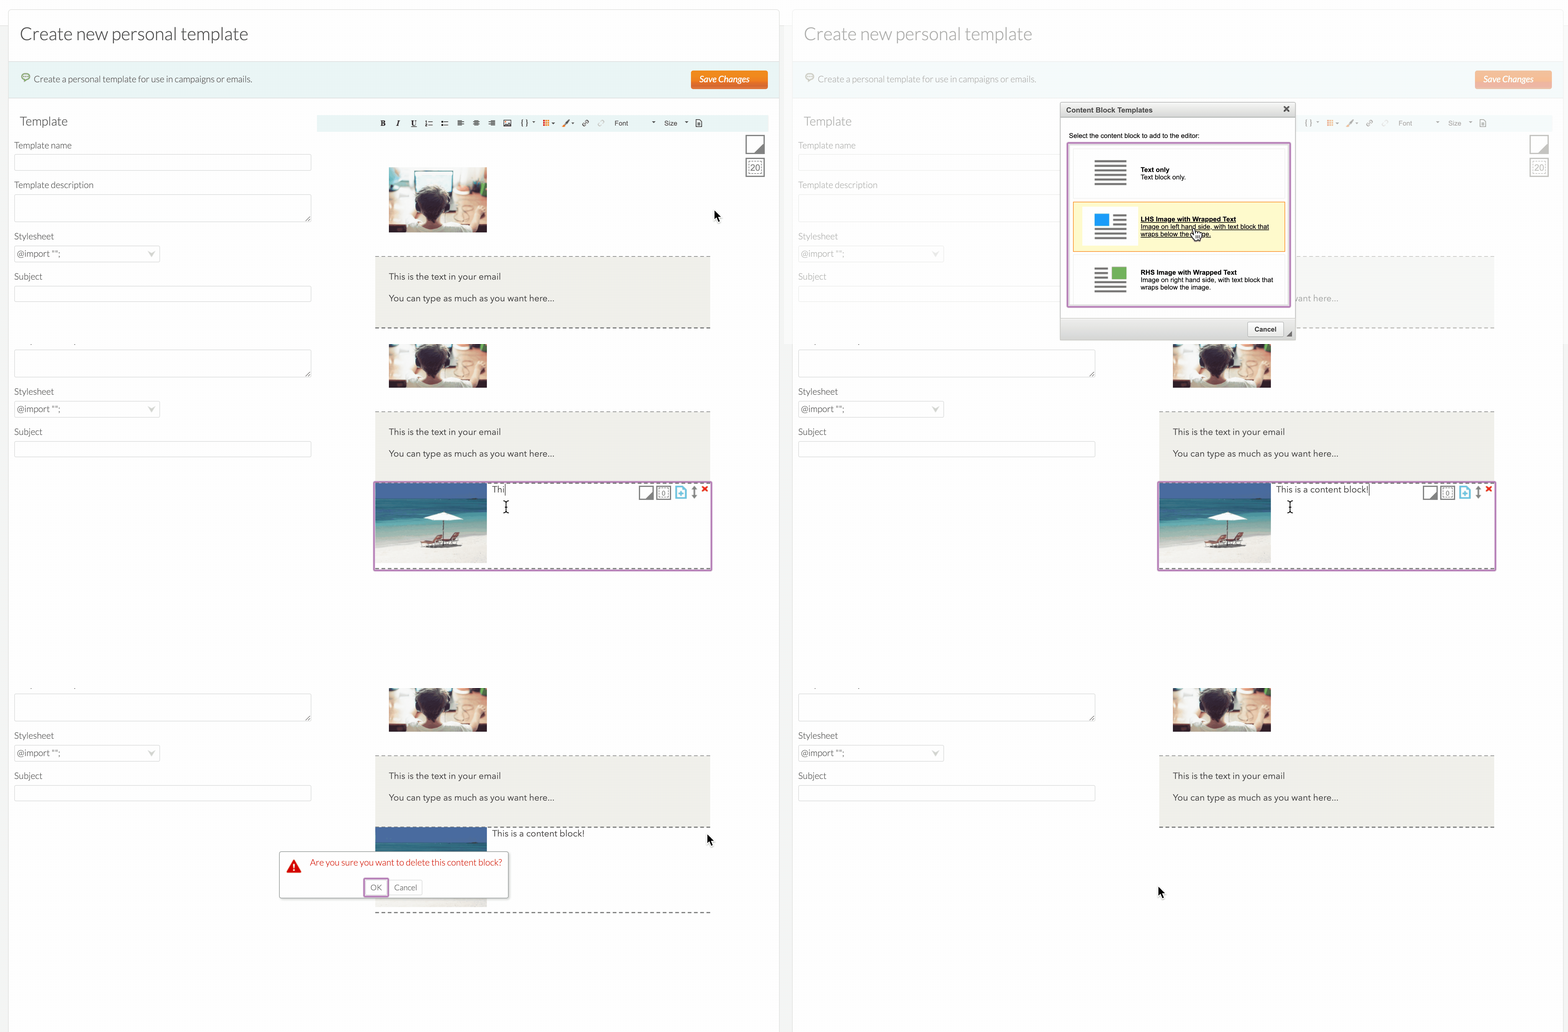
Add content blocks to give your template different layouts:
Click the paper icon next to "Size" in the top menu bar.
To delete a content block, click the red "x" on its top-right corner.
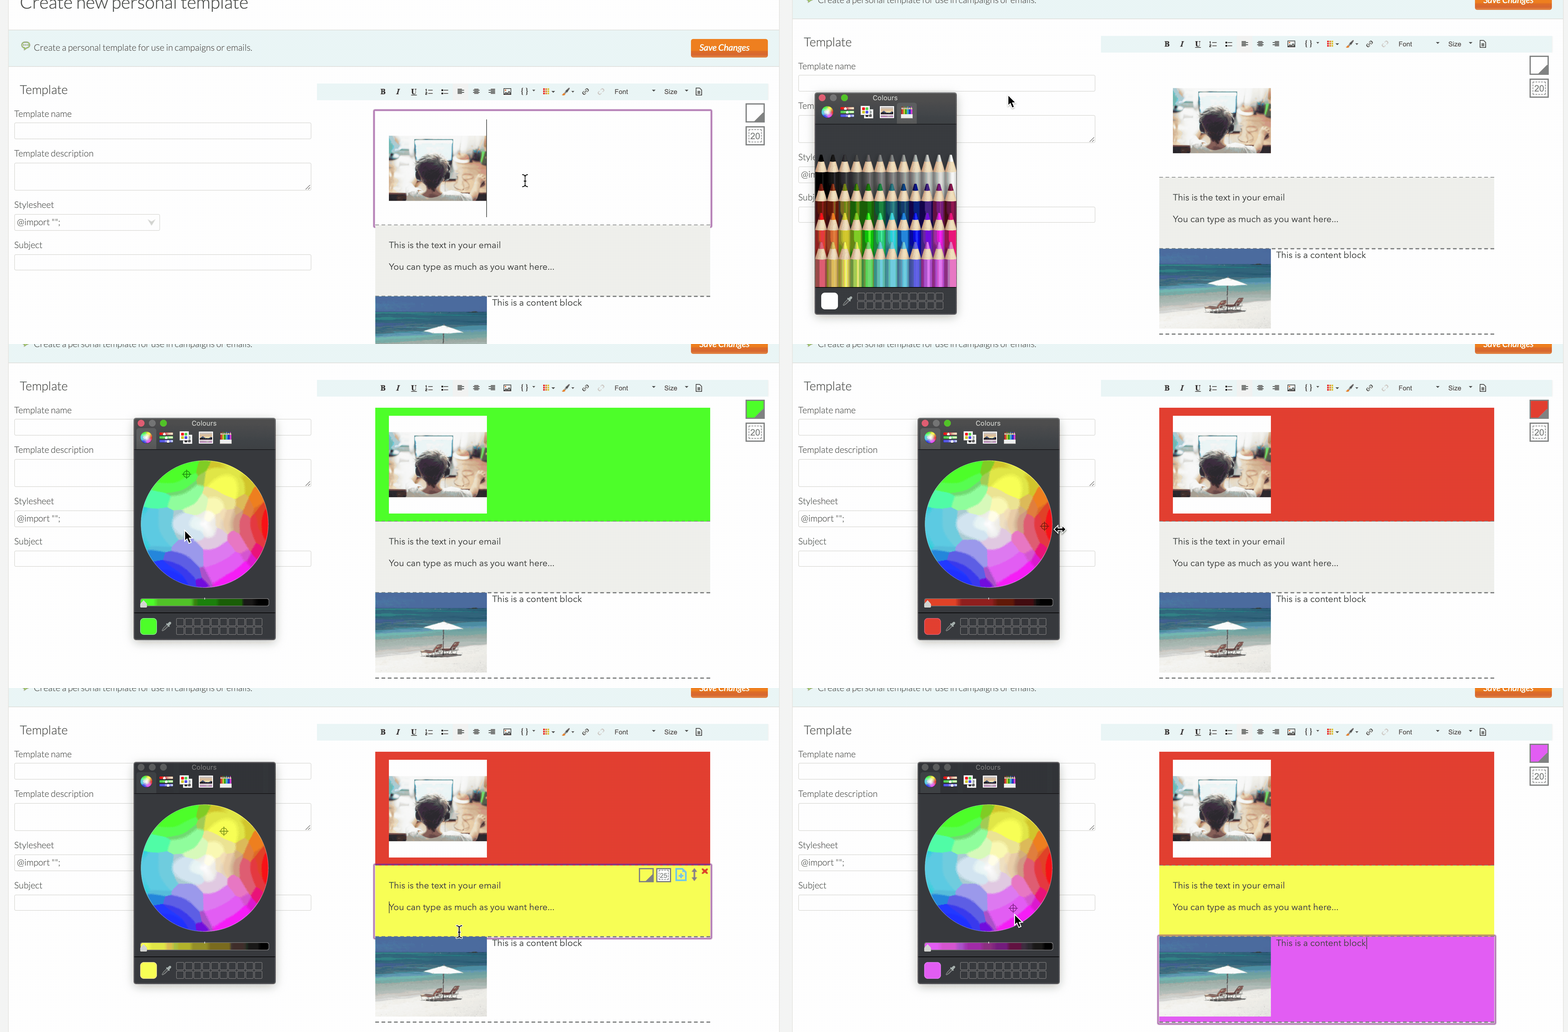
Use the colour box to change your content block colours!
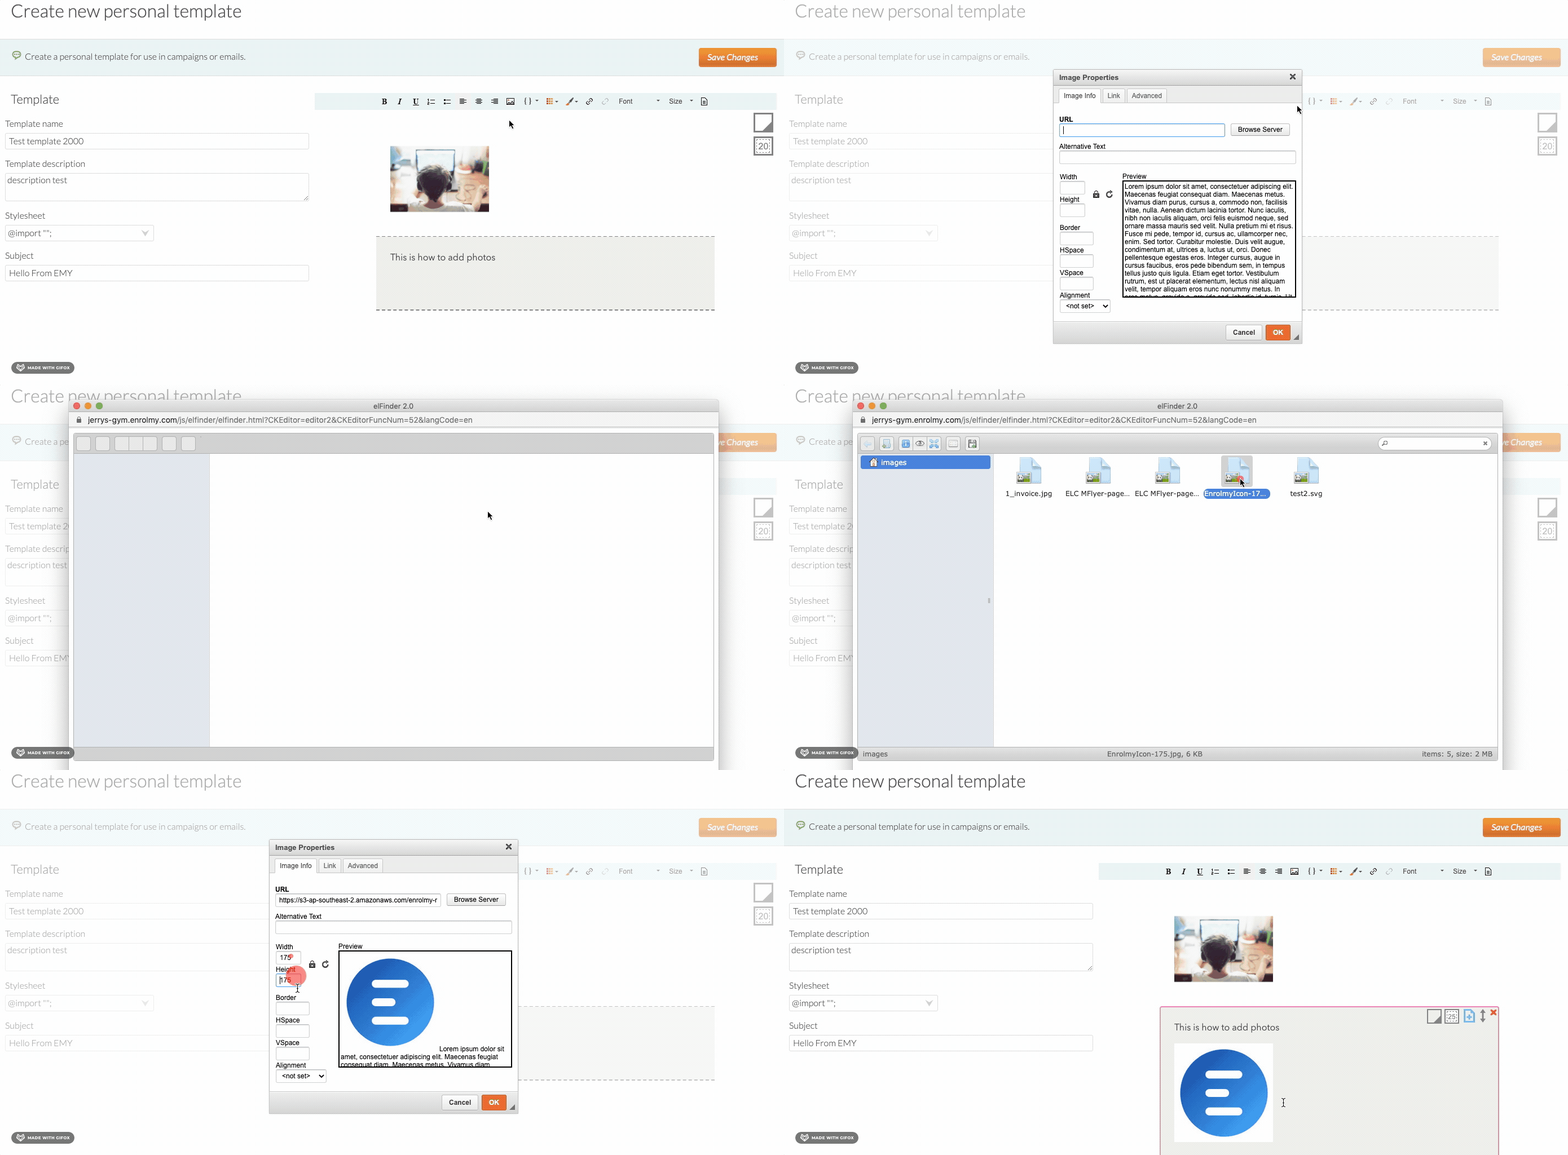
Add any photos and pictures using the photo icon in the top panel:
Using A Personal Email Template
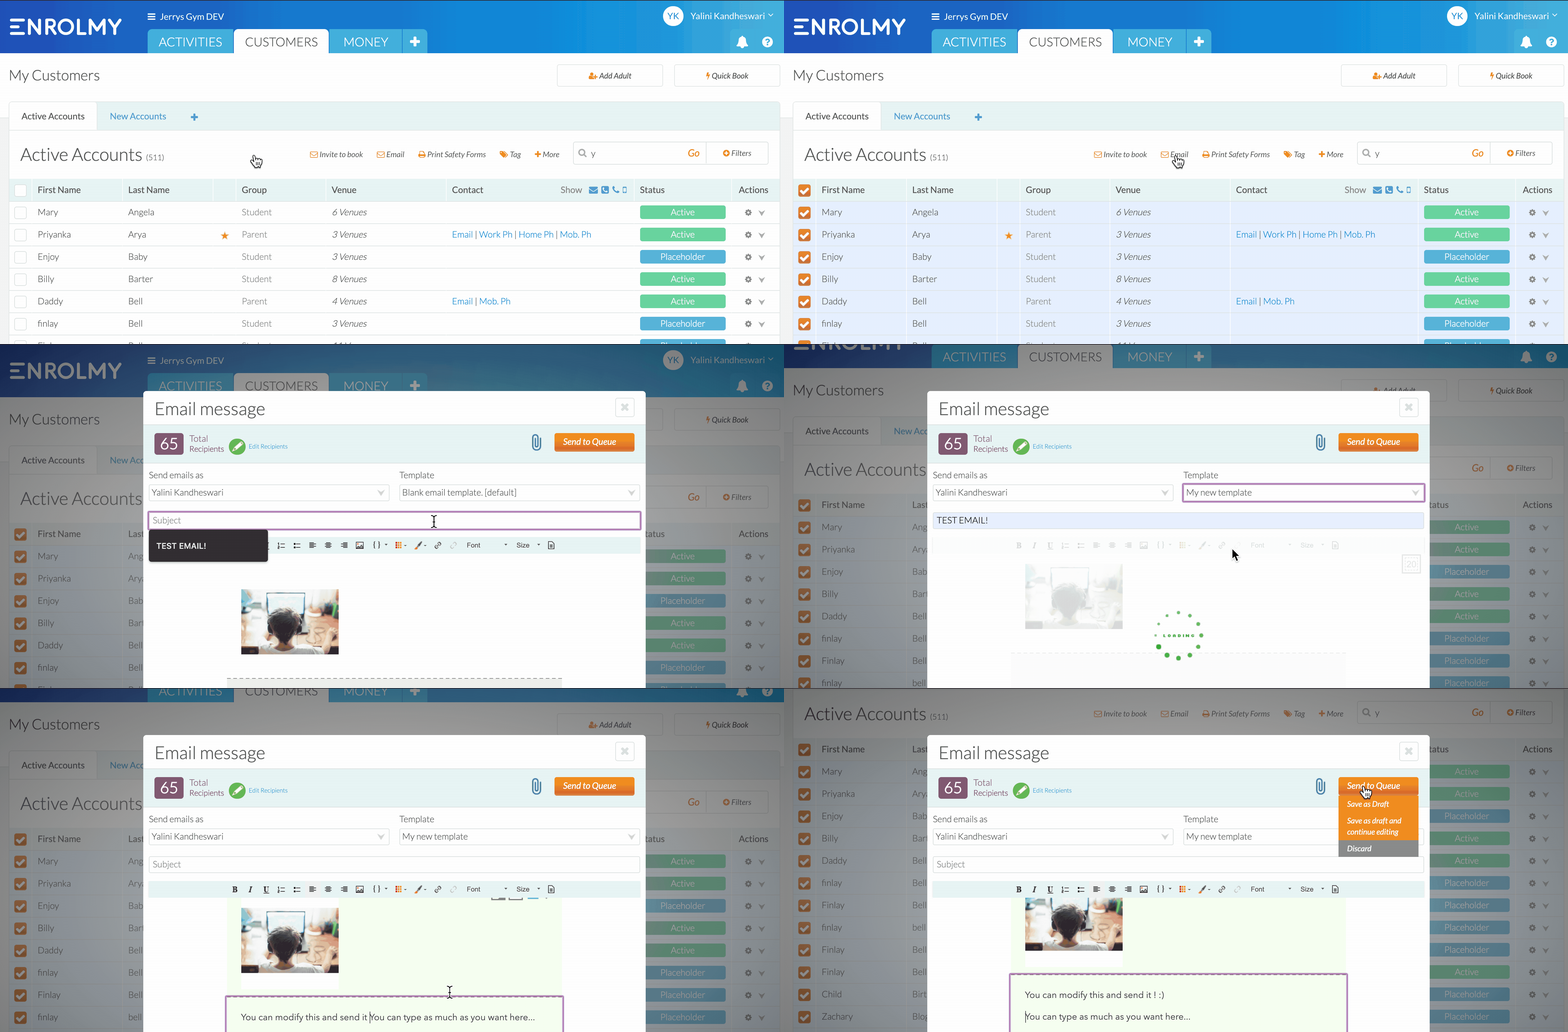
Within the Customers tab, select the customers you want to send the email to using the tick-boxes to the left of their names.
Then select the Email button near the search bar.
Use the dropdown field to choose who you will be sending the email from
Select your personal email template in the Template dropdown field
Type in your email subject
Now select 'Send to Queue, Save as Draft, or Discard'
Congratulations! You now know how to create and use the Enrolmy email templates!
Last updated:
