How To Set Up Staff Rostering Tags
Scenarios:
You are using Enrolmy’s Rostering for the first time and want to know how and why you should setup tags.
You want to know what kind of tags you should setup
You want to know how to create a tag
This document assumes the following:
You are an active Enrolmy user
You have activated the Roster within your activities
What Are Tags
A tag is a label that can be associated with a person, a shift or an activity. Tags are essential to using the Roster. Staff can only be assigned to shifts if they have been tagged. See what tags are, where to find them and how to create them below.
Tag Type | Meaning | Example |
|---|---|---|
Position | Tag staff with their contracted job title they the person in an organisation holds. | Manager, Accountant, Programme Coordinator, |
Role | This refers to a role on any given day of your programme that needs to be filled to ensure your programmes run effectively. | Onsite Staff, Coach, Site Manager, Van Driver |
Region | This refers to a venue, city or region and gives you the ability to tag staff to specific areas. | North, South, City, or Site-based |
Skills | This allows you to create and tag staff with specific skills that are important for your programmes. | Management, Leadership, Payroll, Sport Coaching |
Custom | This gives you the option to create any tag type that you may need. | Qualifications, Certificates, First Aid, L4 Management |
Where To Find Tags
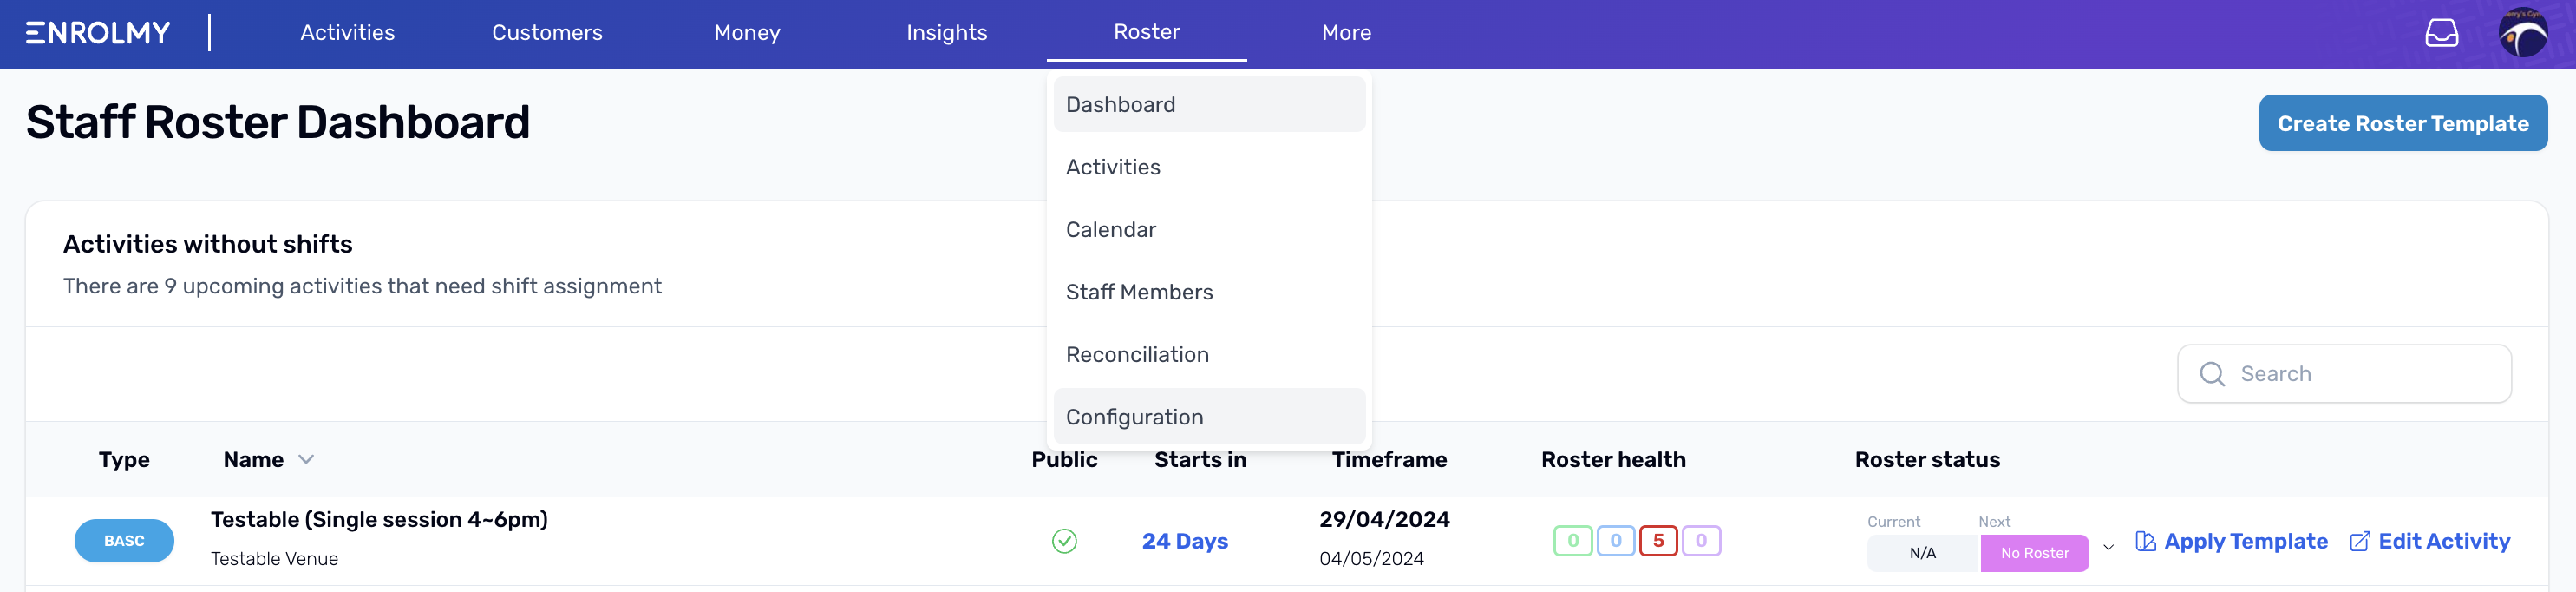
Select the Roster Menu within Enrolmy and choose Configuration:
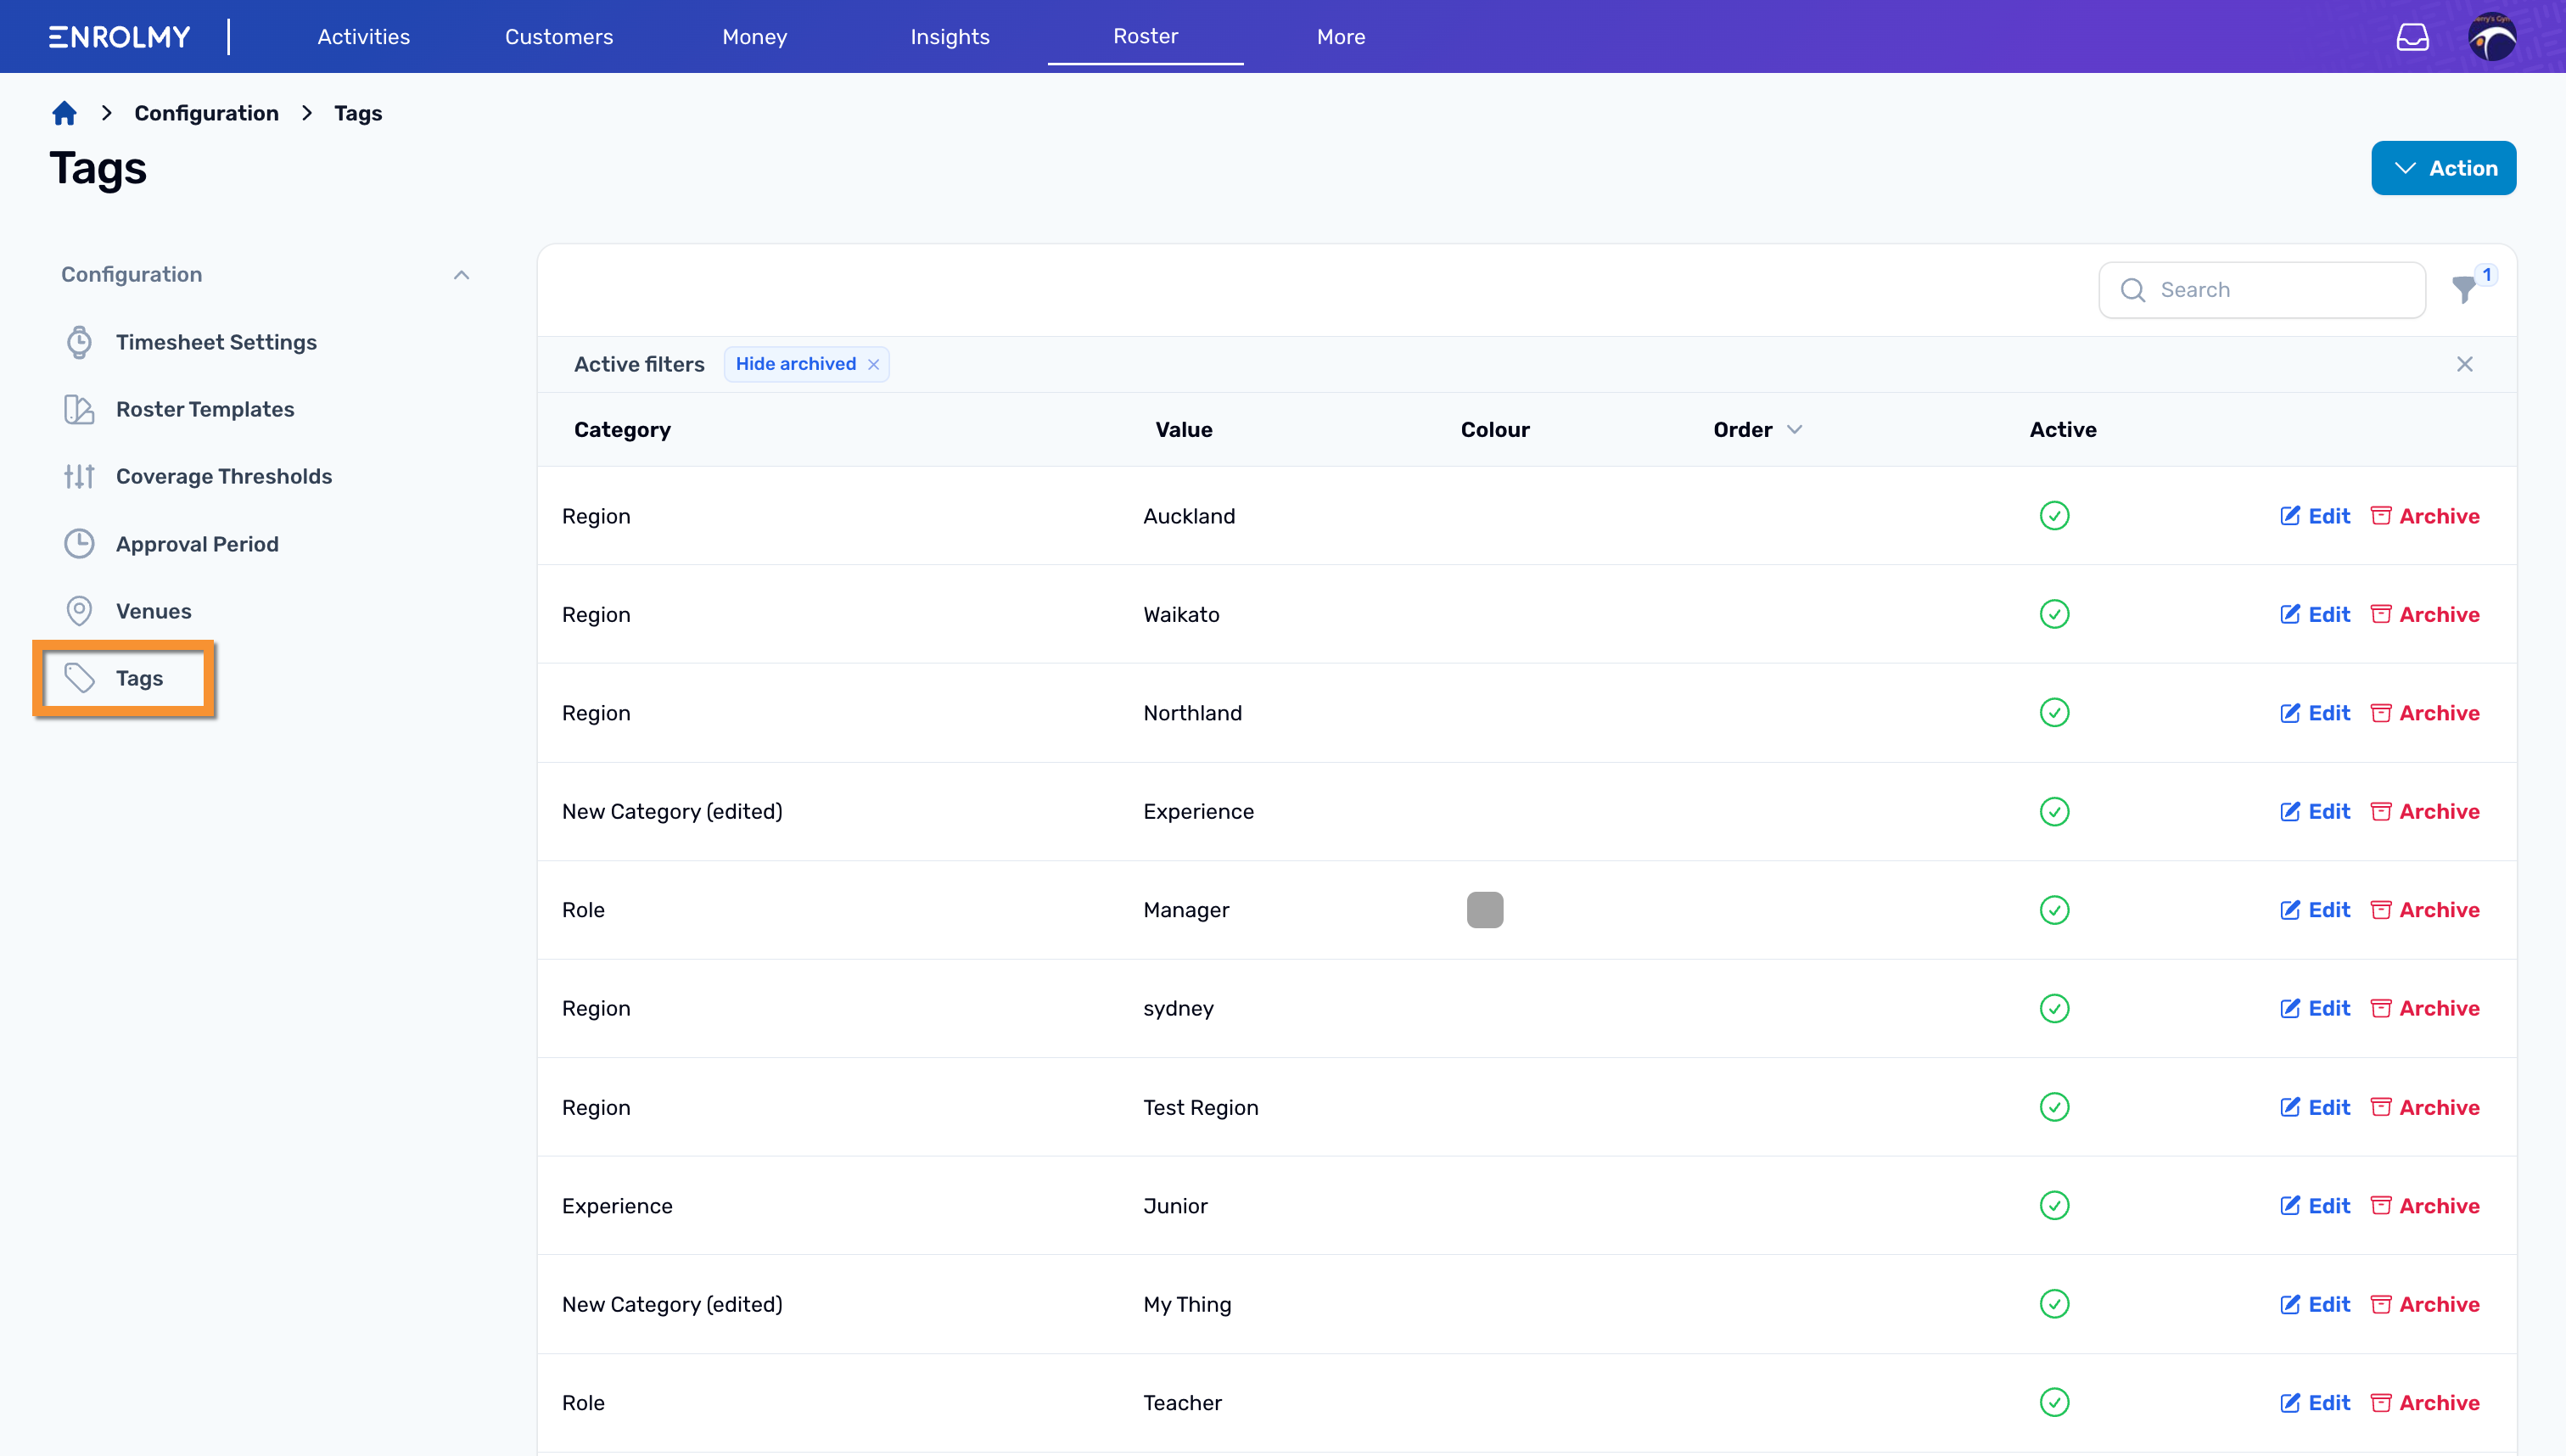
From here choose Tags. Here you can view already created categories and tags or you can create new ones by selecting the action button:
2A. Setting up "Regions"
Create a tag with Regions as the category
Name that region i.e Cambridge, Christchurch, Auckland etc
2B. Setting up "Positions"
Create a tag with Positions as the category
Naming that position: i.e. Manager, Ground staff, Coach
Assign a colour to that position
Assign the order they would appear within the roster calendar
How To Create Tags
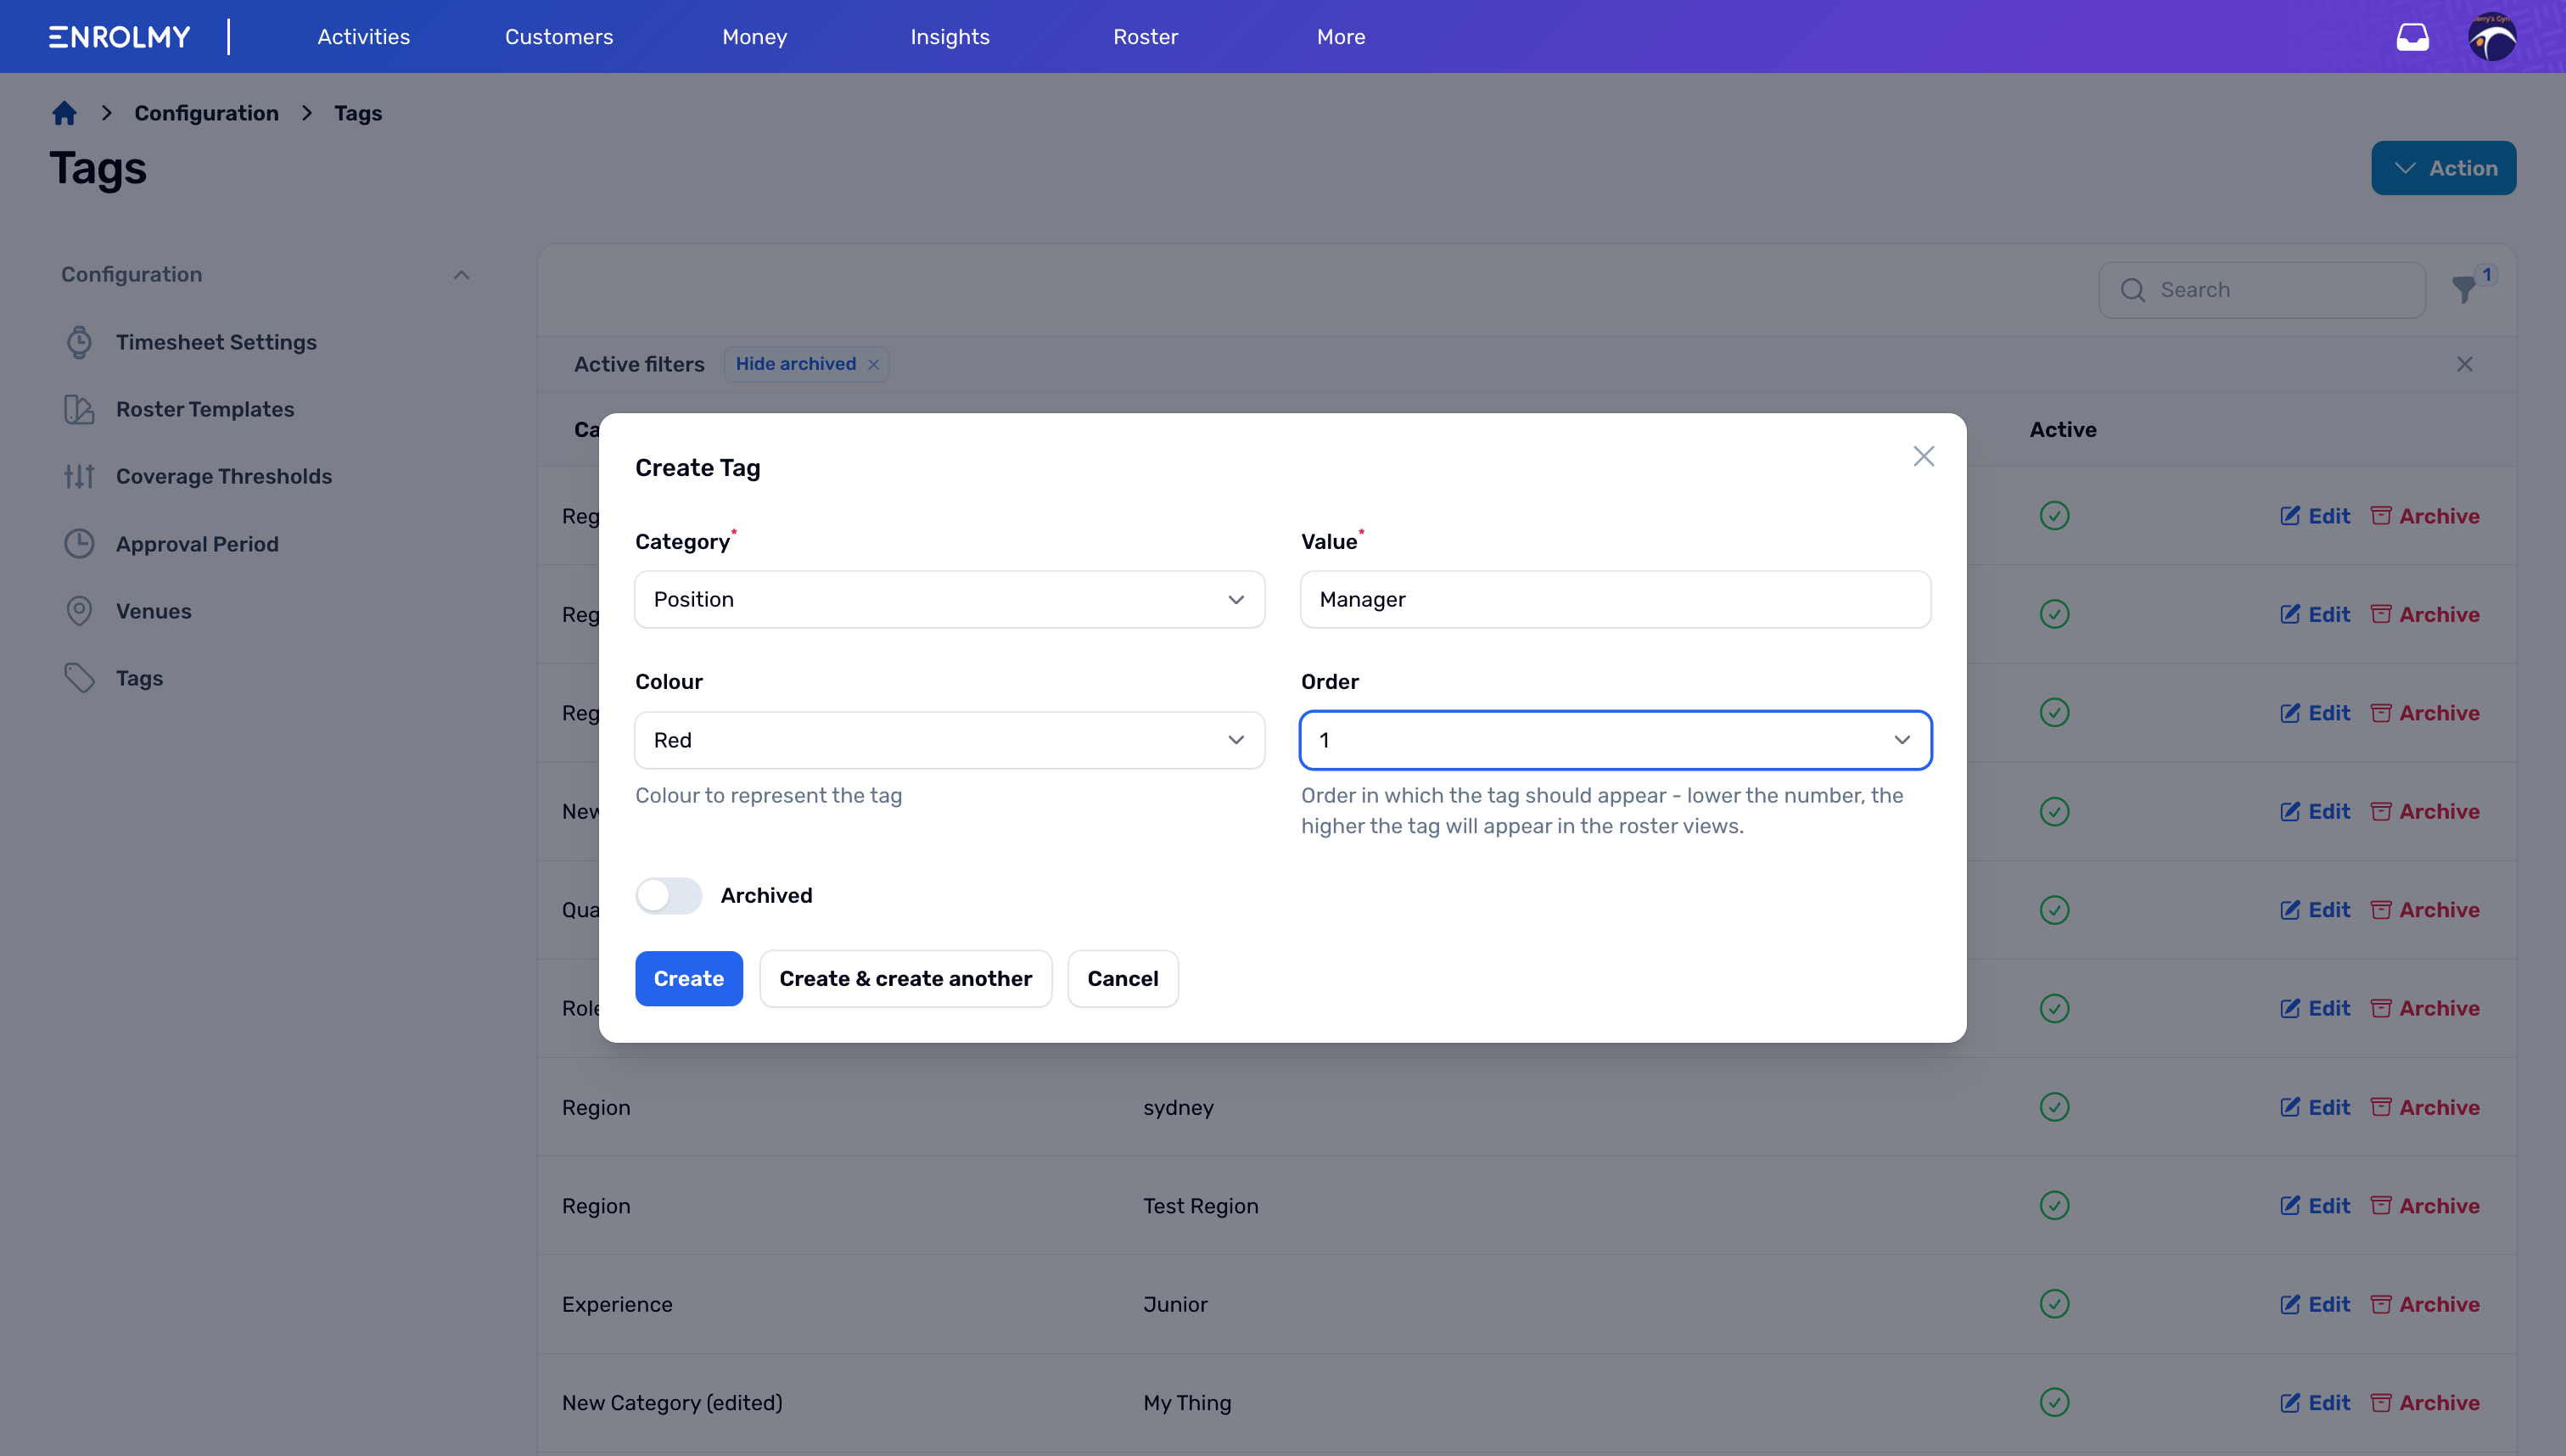
Select the action button and choose +new tag
Select a category that is applicable for the tag to be grouped within (You can create your own categories if required)
Enter in a name of the tag within the Value field
Select a colour that this tag will be associated with. This allows for easy identification of the tag within the calendar area
Select a number to order this tag. This is the order in which the tag appears within the roster view
Select Create to ensure the tag is saved
Nice work! You now know how to create tags! See how to apply these to staff members here.
Last updated