Invoice Settings
Scenarios:
You are setting up your Account with Enrolmy
You want to enter or edit your invoice settings
This document assumes the following:
You have a bank account for your business that you want the money deposited into
You are or you know who is in charge of managing accounts for your business
Accessing your Invoice Settings
To access your Invoice Settings:
Click on the (+) plus tab in the main navigation bar.
Select Settings.
In the left General Settings panel, scroll down to Essentials.
Click on Invoice Settings.
Fill in the required details on the page.
Editing your Invoice Settings
Company Name - Enter the name the invoices will be generated from.
Accounts Contact - Use the drop-down menu to select the person in your organisation who is the main contact for invoice and payment inquiries. Enter the Accounts Contact's email address and phone number.
Invoice Address - Use the drop-down menu to select the address which will be shown on your invoices.
Branding Logo - Click on the Upload Logo button to upload an image as a logo which will be shown on all your invoices. For best results resize your photo to 1080 × 1080 pixels before you upload it.
Bank Account - Enter your business's bank account name and number.
GST Registration - Click the YES/NO button to indicate whether your business is GST registered. If YES, then enter your GST or IRD details. Then, select whether your invoice items will be inclusive of GST, or whether GST will be added at the bottom of the invoice.

Invoice Note - Write a custom message to the customer which will appear at the bottom of your invoices.
Payment Terms - Use the drop-down menu to select the payment due date after each invoice is generated (This is the default value. You can change it for each activity you set up).

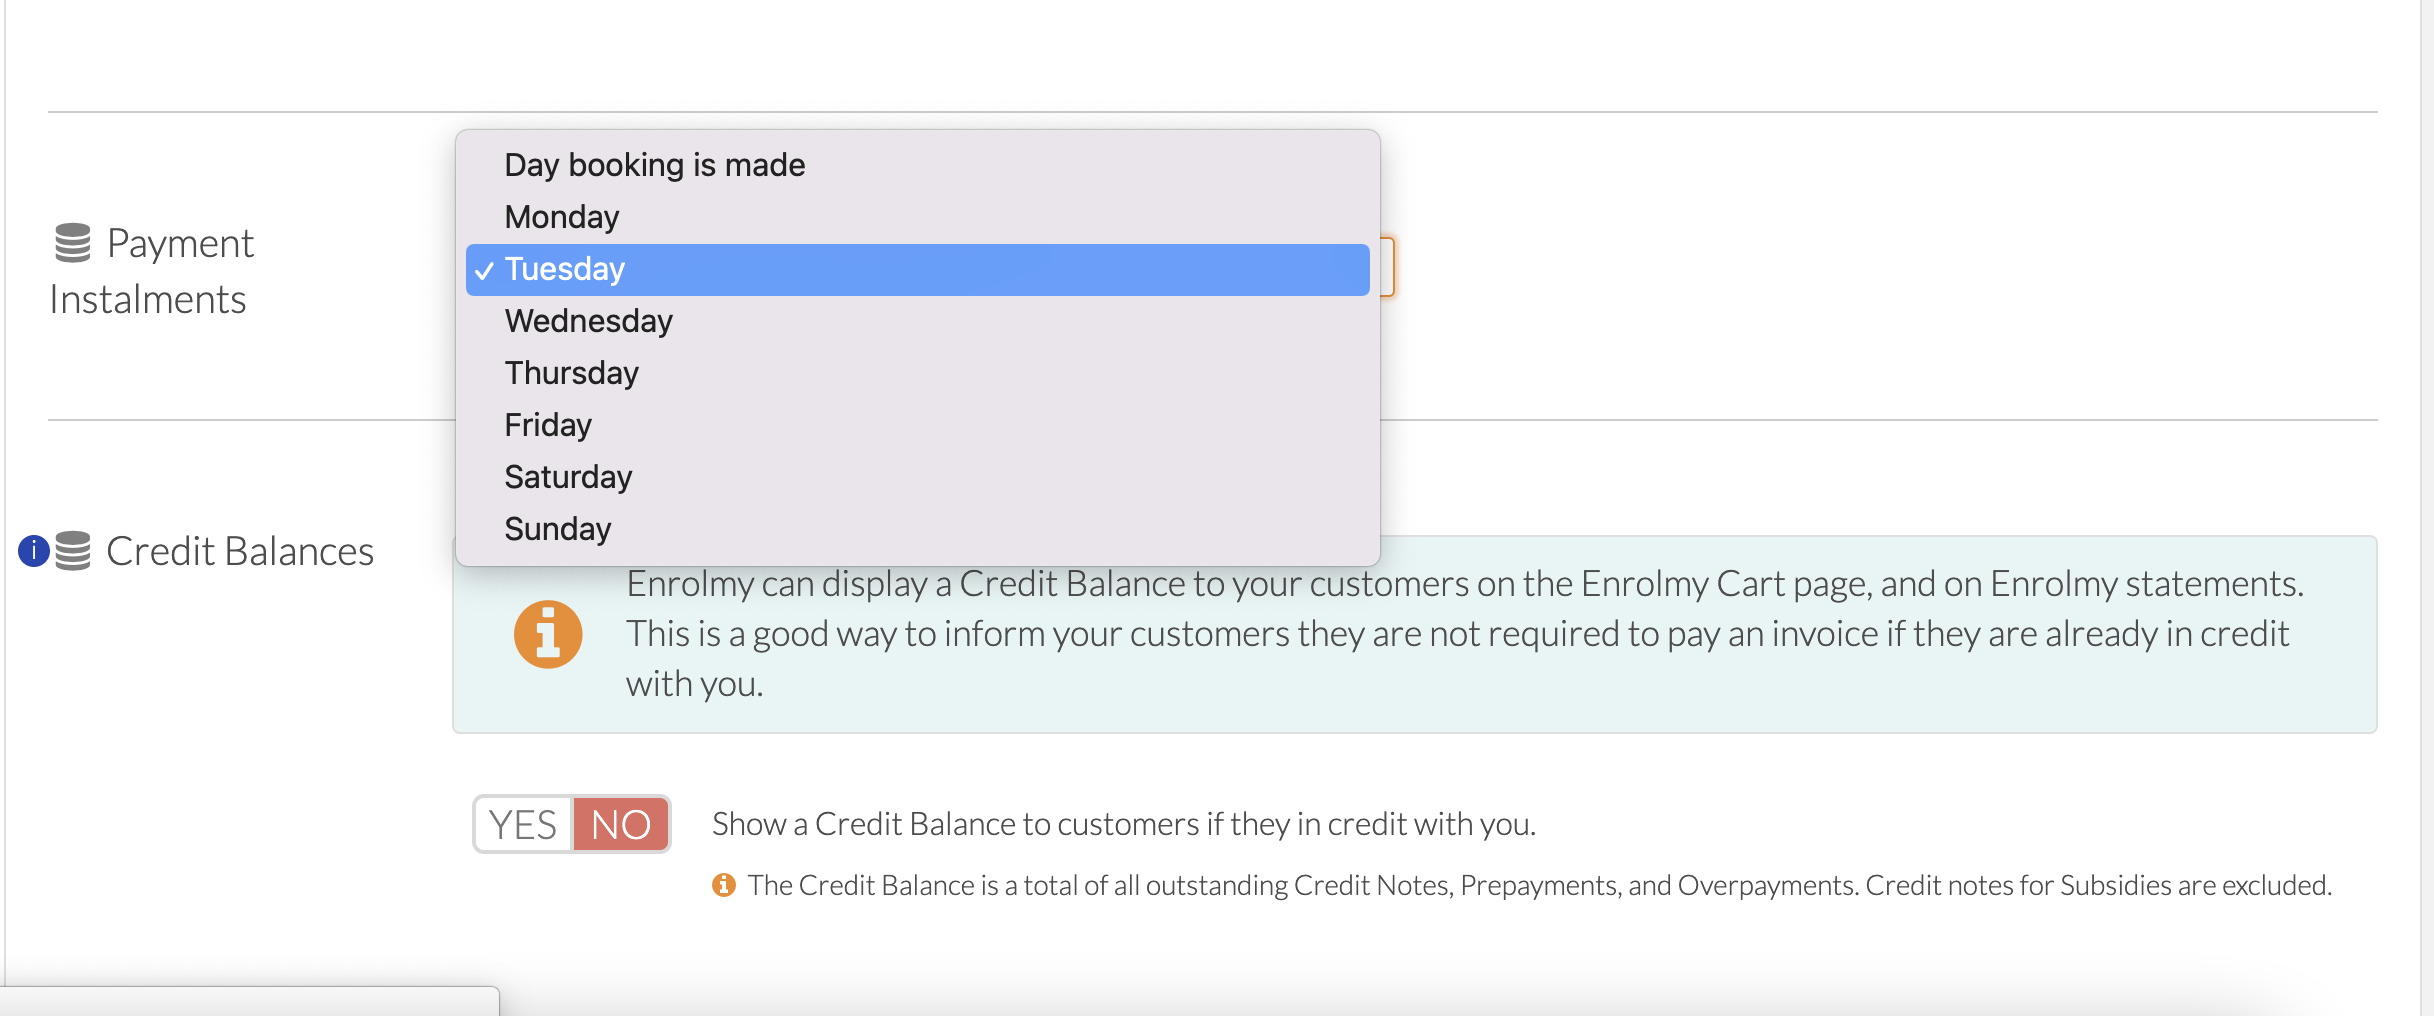
Payment Instalment - If your organisation plans on using Enrolmy’s Payment Instalment method, you can choose a specific day of the week for your customers' payments to be charged. Choose from options such as charging parents on the “Day the booking is made” or any other day of the week.
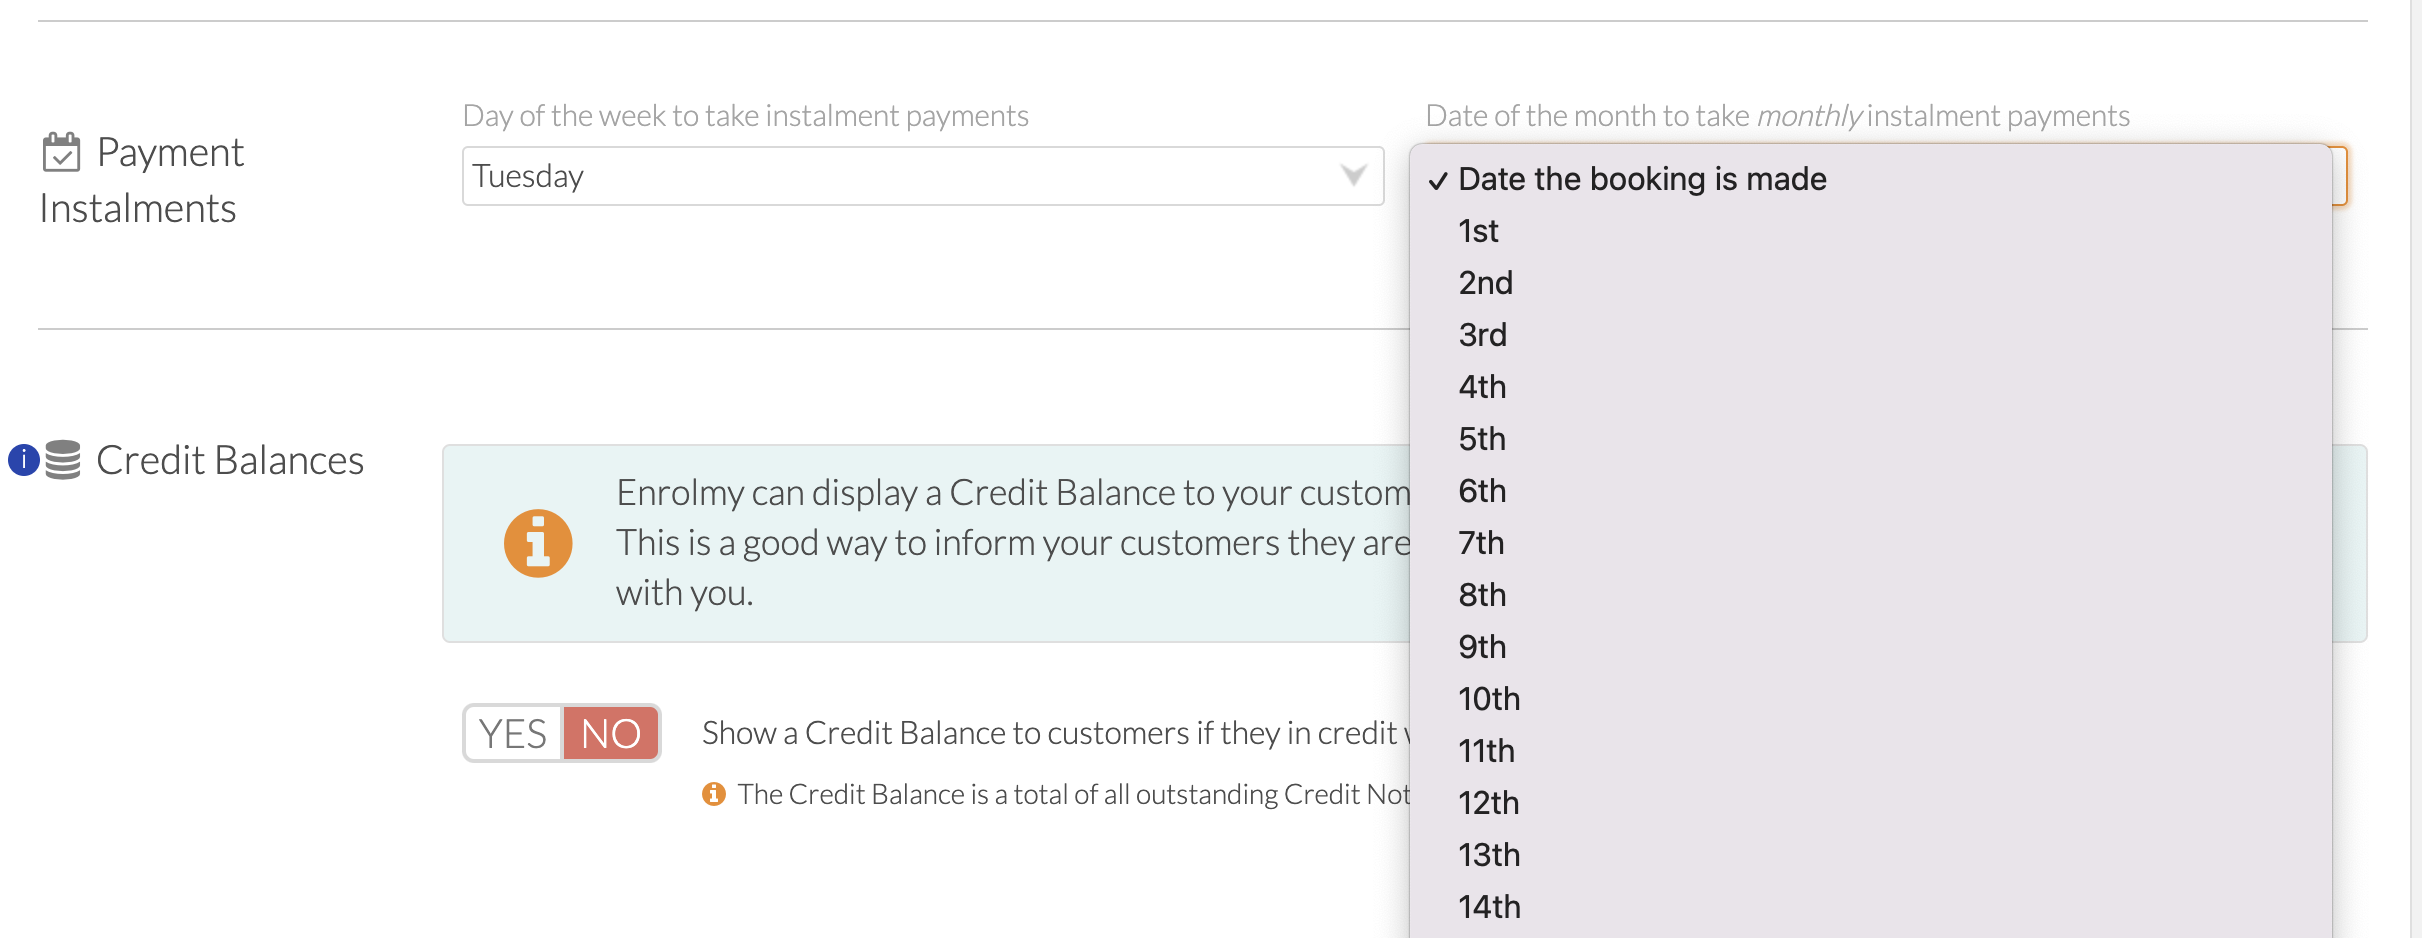
Date of the month to take instalment payment - If your organisation plans on using Enrolmy’s Payment Instalment method, you can choose a specific date of the month where customer’s payments will be charged.
Payment References - You can enter the reference values which you want customers to enter when they are making their payment.
Save Setting - Ensure that you click the Save Settings button at the bottom right of the page.
Important!
Please consider your GST setting carefully as it will affect your invoice generation! The invoices will be generated either GST inclusive or exclusive based on your selection.
Awesome! You can now jump in and complete your invoice settings!
Last Updated: