Registration / Subscription Activity Type Explained
Scenarios:
You want to create an activity for Registrations and Subscriptions
You want to understand how to add attendees to Registration Activity yourself
You want to understand how to move attendees between Registration Activity and other activity types
This document assumes you know the following:
You have published your Minisite
You know how to create a new activity type
Jump to the activity setup sections below, or start from scratch to understand the activity form details like the back of your hand!
The purpose of this activity type is to register and pay for one-off registration or seasonal fees and be sorted into teams if required. This setting is perfect for the collection of sports fees/subscriptions or any other registration costs.
Comparison with other similar activity types
Registration / Subscription activity type is very simplified compared with Team Sports and Classes and Lessons type of activities.
This activity type does not offer:
Customised Sessions and Costs
Advanced Booking and Invoicing settings
We suggest using Team Sports Activity type if you are a Team Sports activity provider and require sorting your attendees into teams.
How to set up Registration / Subscription Activity
Head to the Activities menu and select Create An Activity.
Choose the Registration / Subs tile and click Let's Go!
General Settings
Choose activity name
Choose Category
Choose your venue from the second drop-down menu
If your venue is not there, click the New Venue button to the right.
A form will appear, where you will fill in the details of your venue.
Once you save this venue, it will appear in the Choose your venue drop-down menu
4. Select the staff who will be at the activity from the next drop-down menu.
5. Select your type of attendees:
Children (their parents will make the bookings) OR
Adults/young adults (will make bookings themselves)

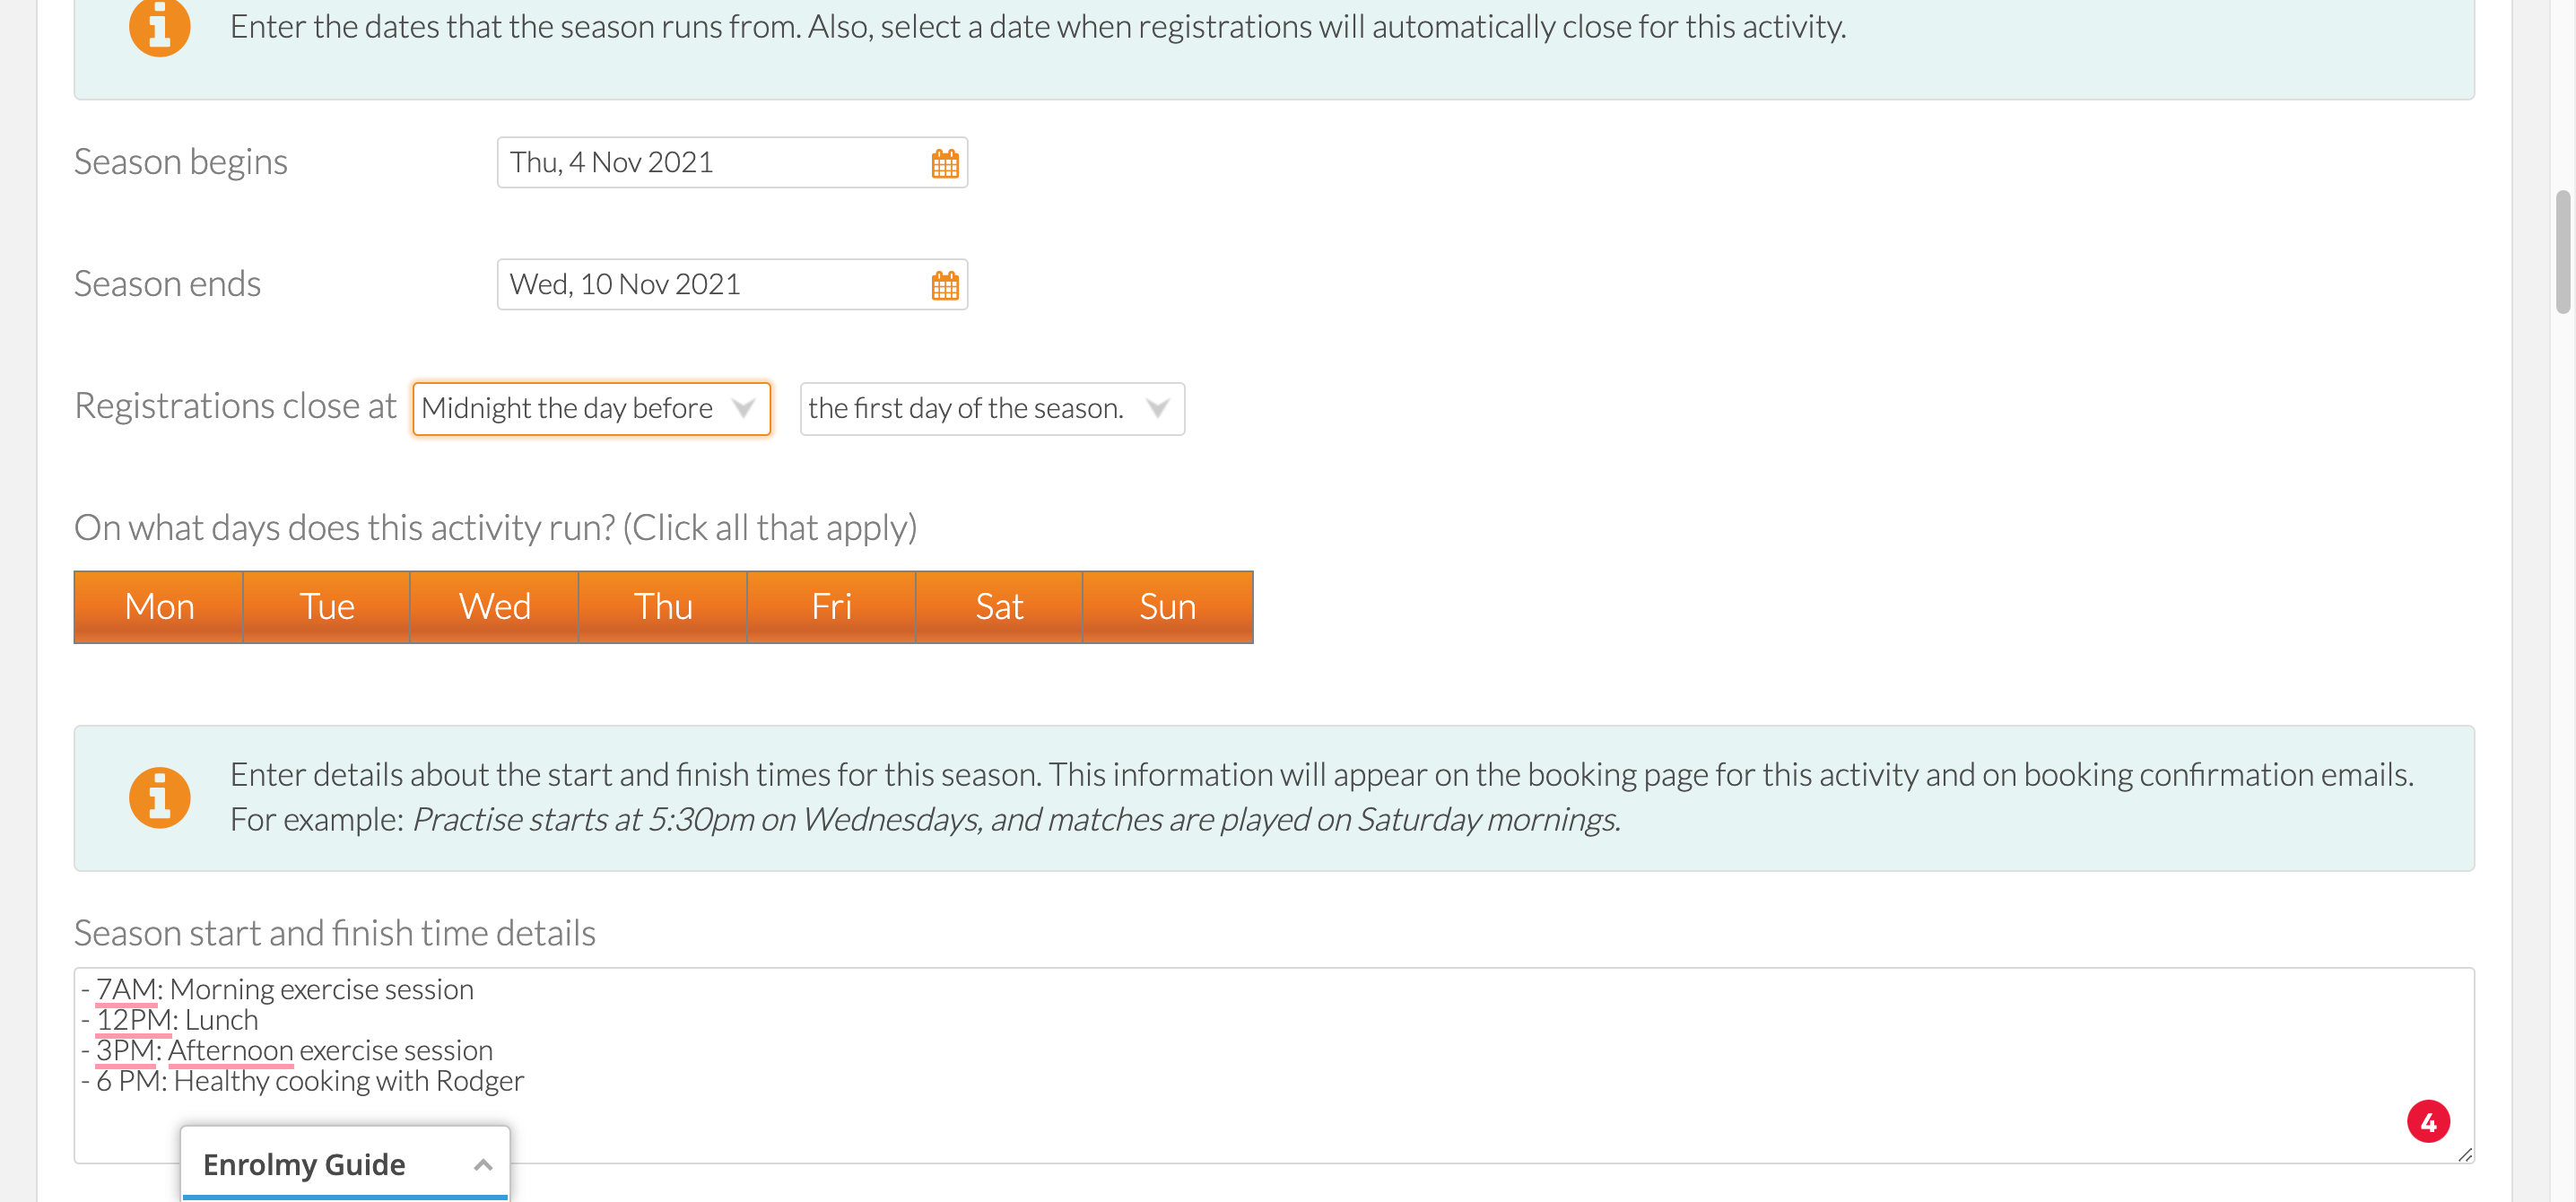
Time Period and Details
Choose the start and finish times of the activity
Select a date when registrations will automatically close for the activity
Select the days the activity will run on
Describe the start and finish time details
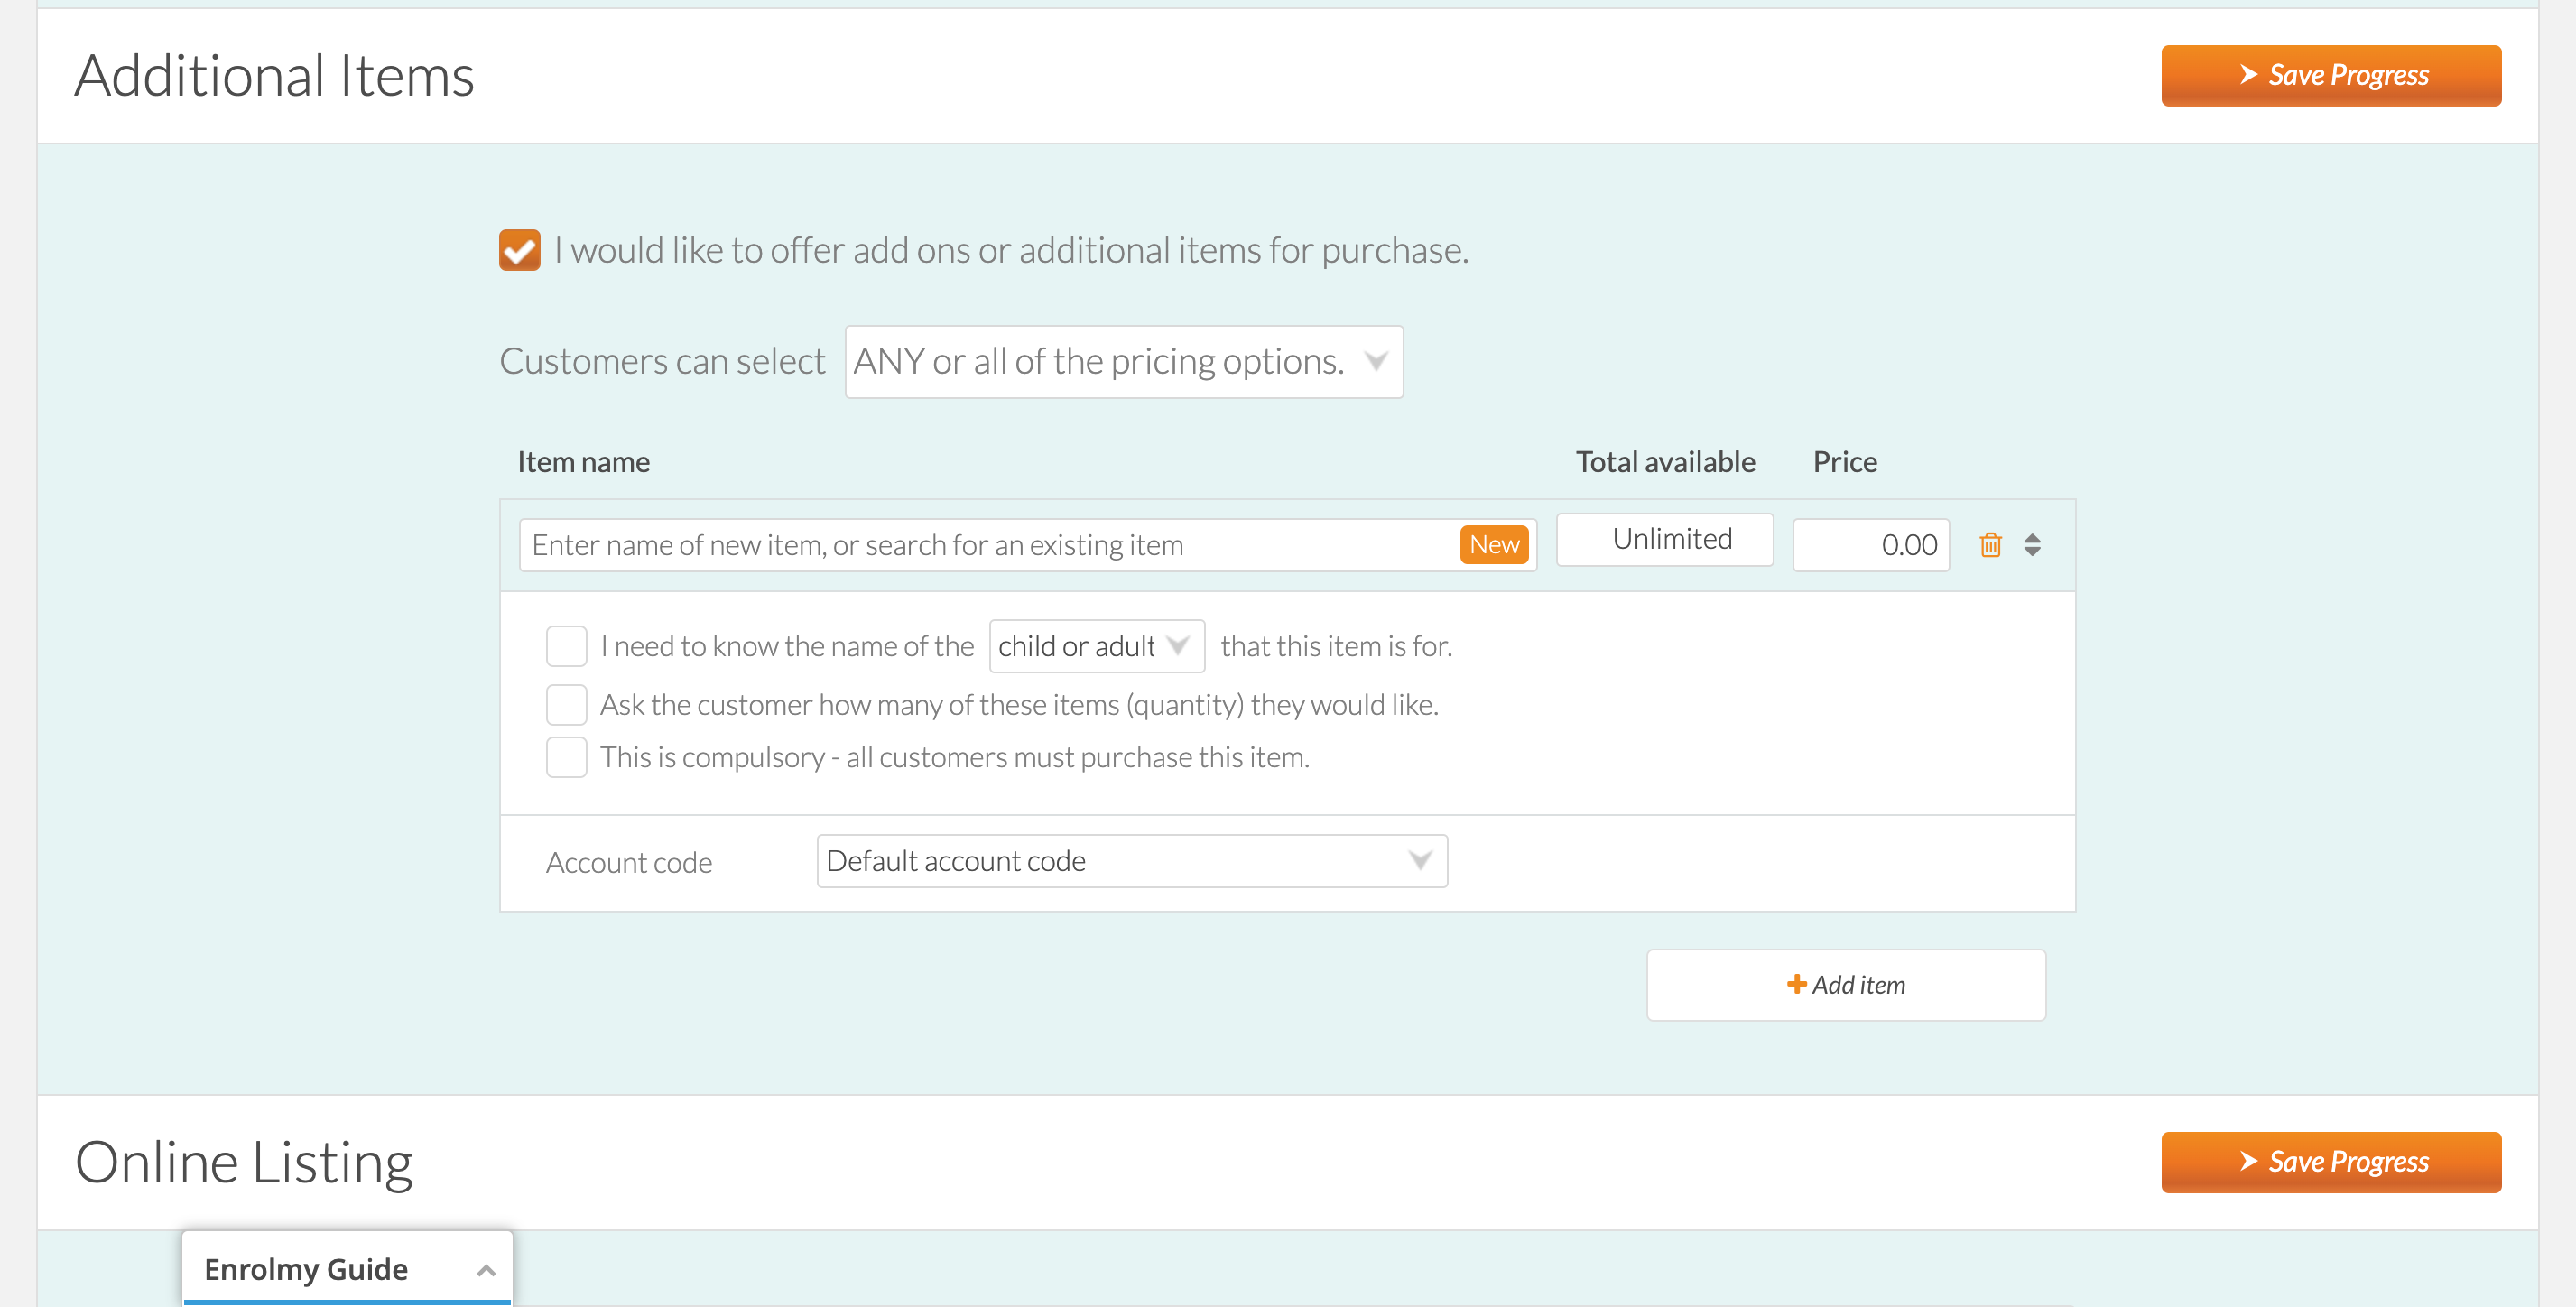
Pricing / Fees
1. Allow customers to select:
Only one of the pricing options
Any of the pricing options
2. Enter item name, total available spaces, and price for the item
3. Choose if you would like to know the name of the participant
4. If you do not need to know the name of the participant - ask how many of the items the customer requires
5. Make this item compulsory. Compulsory means the item is auto-selected on the booking form and cannot be unselected.
Online Listing Details
Write a short summary about the activity that will be seen on the search results
Write a long description of the activity that will be seen on the activity page
Attach any flyers in a form of a pdf
Upload an image to enhance your tile
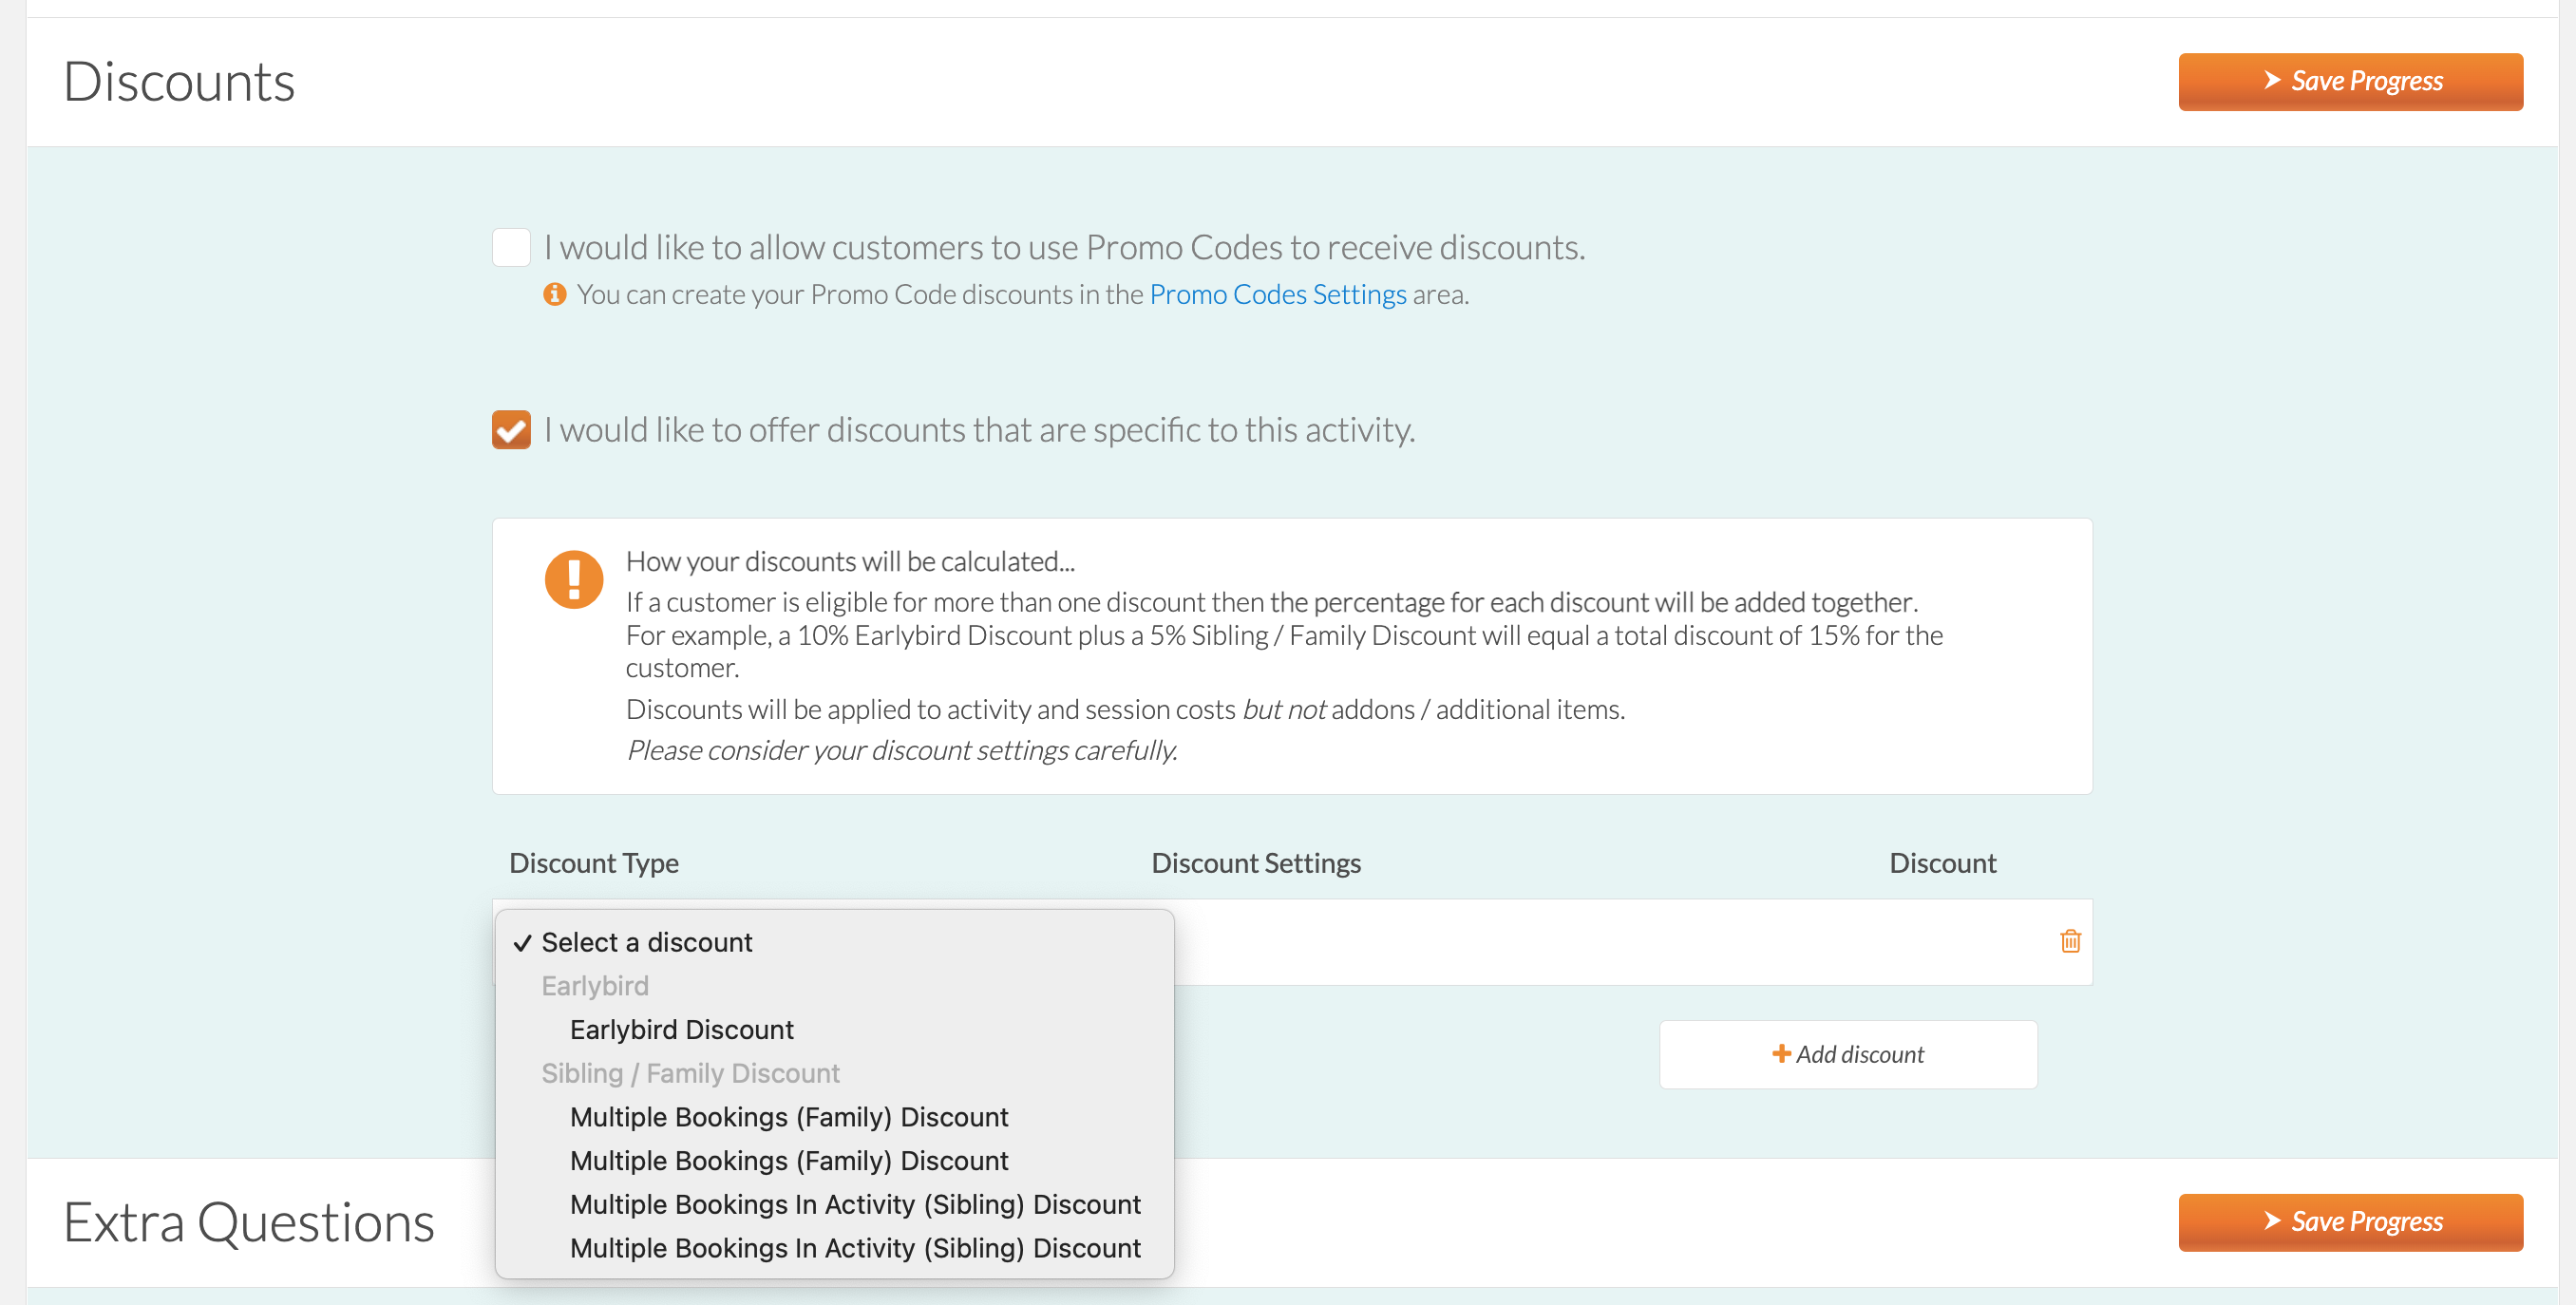
Discounts
You can offer any of the discount types available. Please see here for more information:
Activity Discounts & How They Apply
How To Setup Promo Codes
Extra Questions
You can ask extra questions that will be specific to the activity. You can choose from one of the templates or create your own custom questions - either Free Text or with Answer Options
This is how these questions will display for the participant:

Booking Settings
Sorting Into Teams
You can choose to sort the attendees into teams.

If you have chosen this option - please select the attendee and move them to a team within the activity
Another question will populate if you choose to sort everyone into teams - to inform parents that places can not be guaranteed until after teams have been confirmed
Please see this help guide where Team Sorter is explained in detail.
We suggest using Team Sports Activity type if you require sorting your attendees into teams.
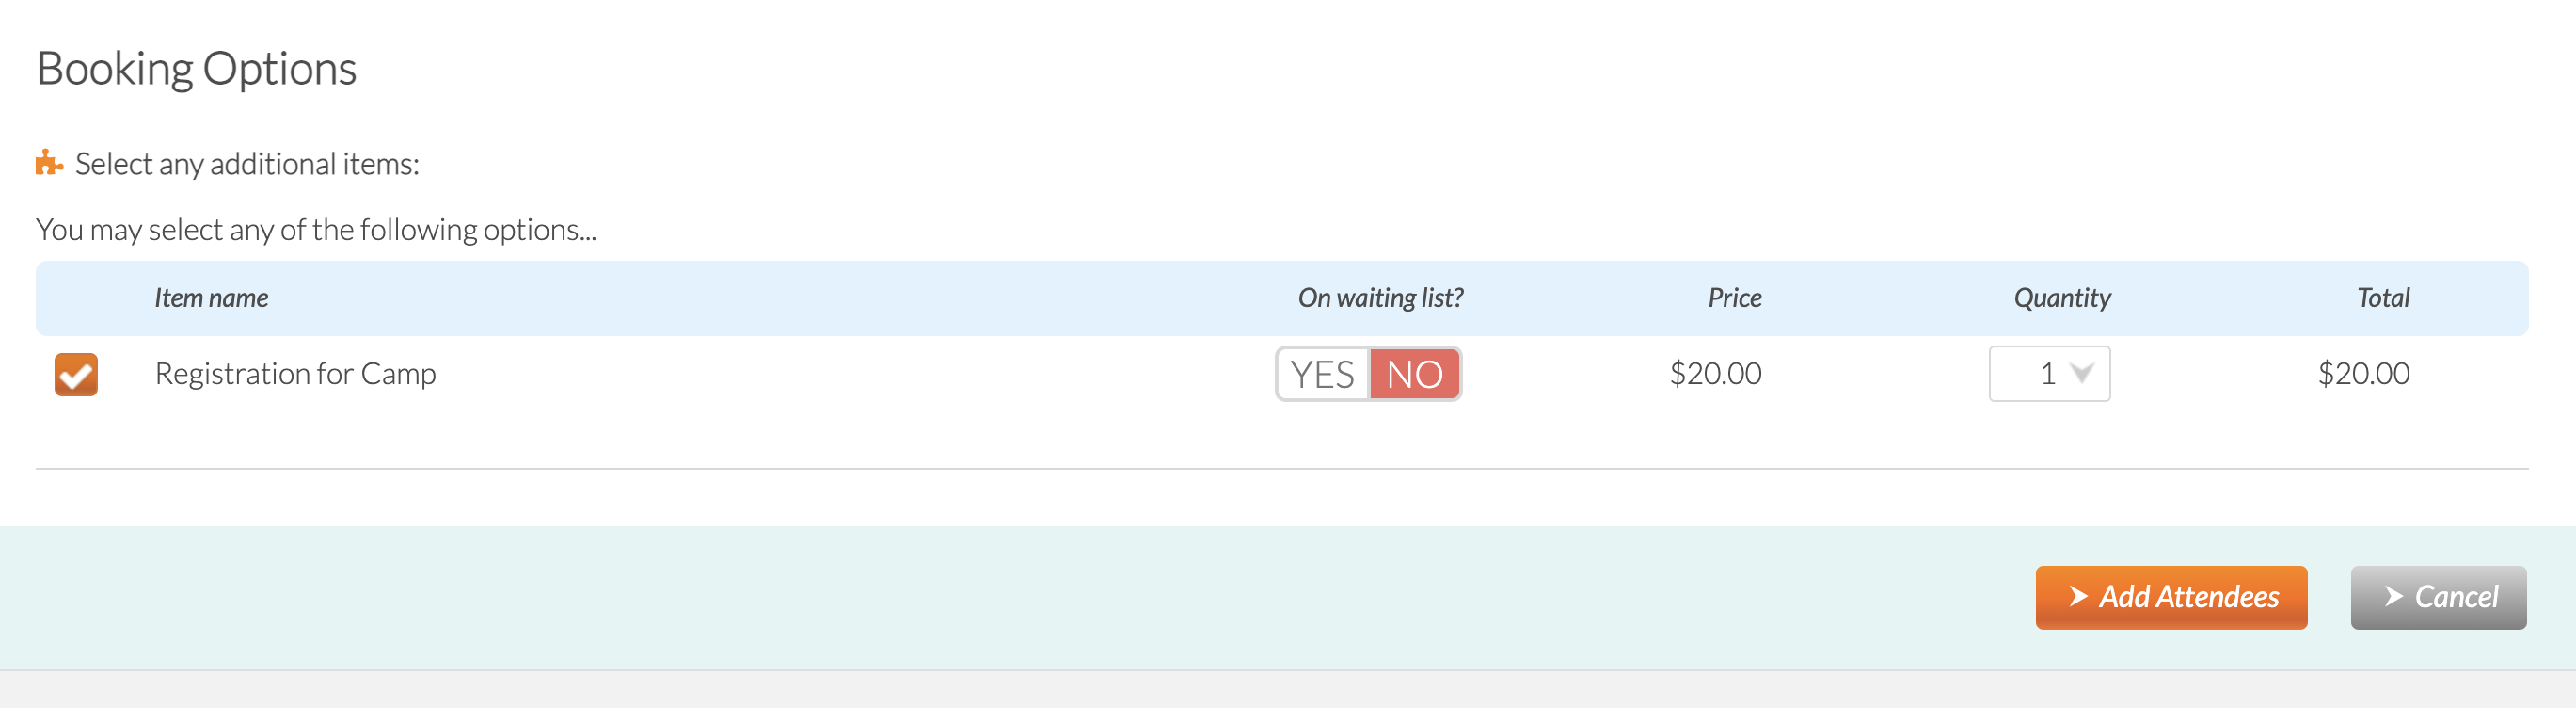
If you choose not to sort everyone into teams - you will see a list of registered attendees with the activity:
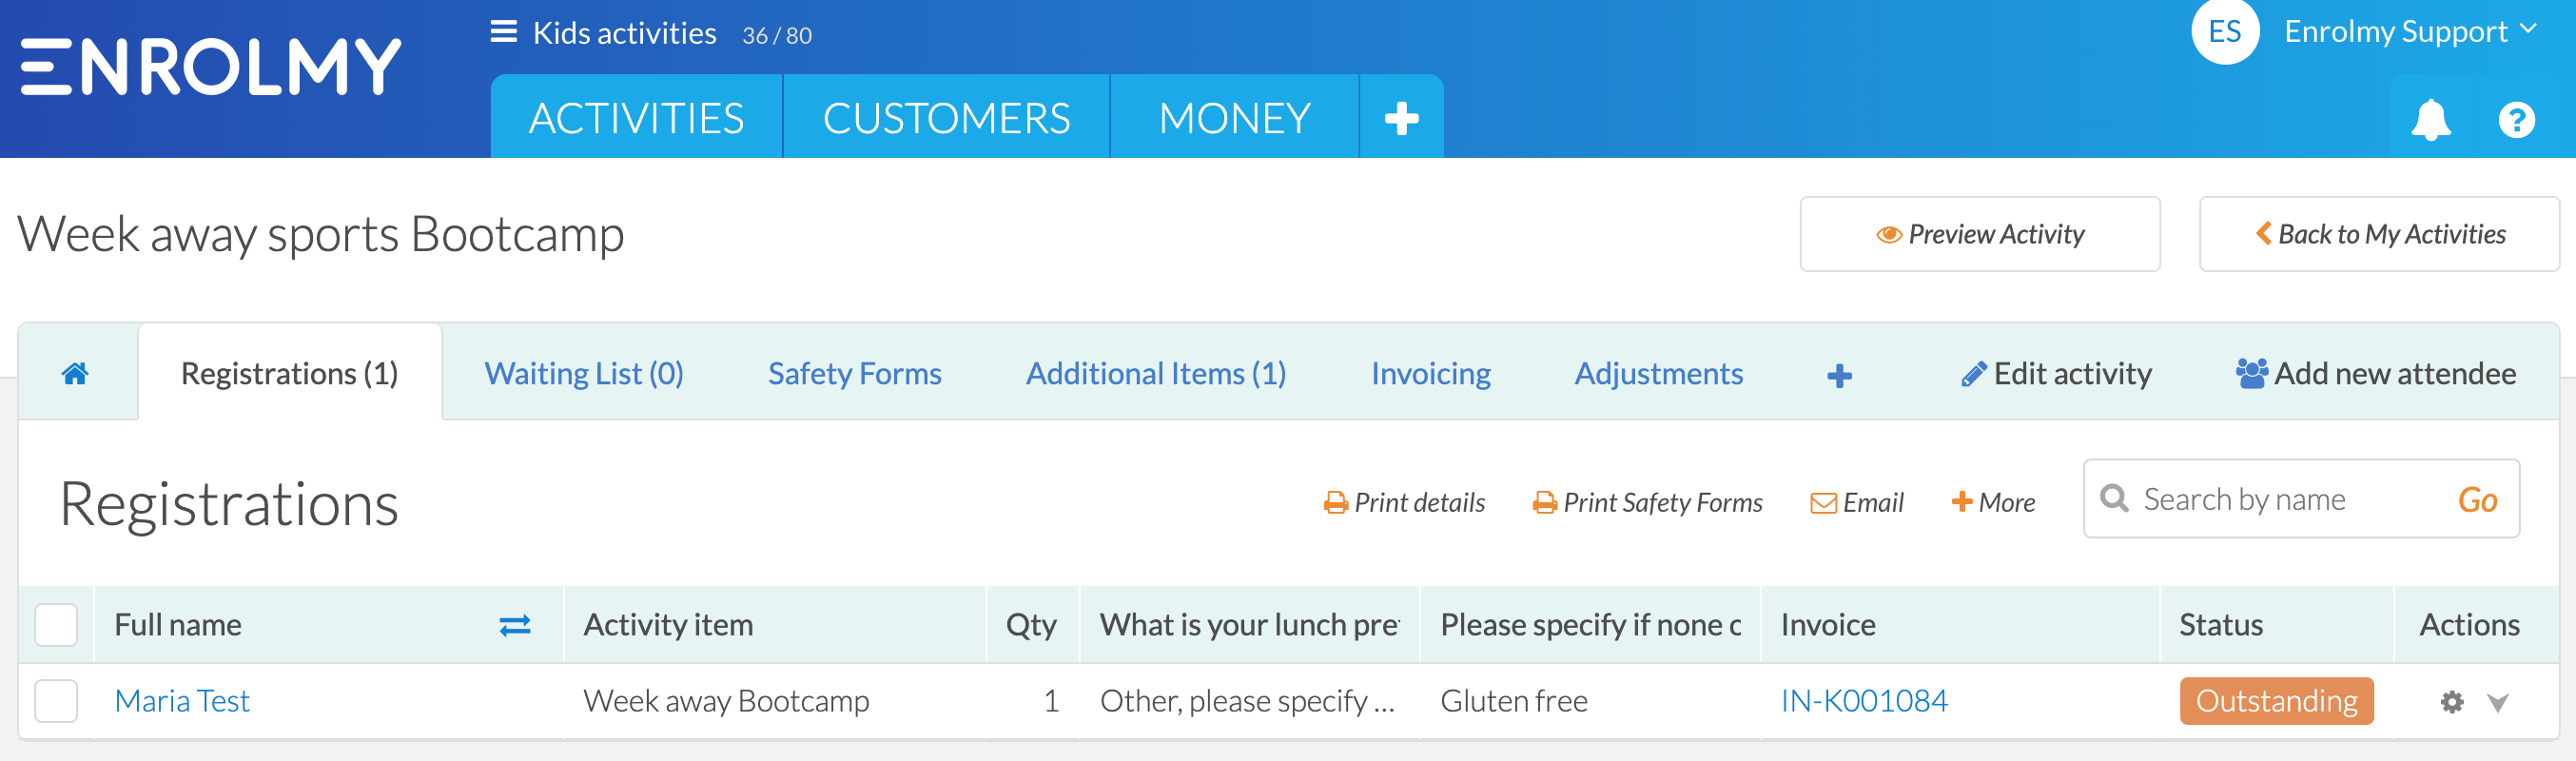
2. You can choose to add attendees to a waiting list if the maximum number of allowed attendees has been reached

3. If you select Yes for "Attendees must complete Safety Form before attending" then the attendee (or parent) will receive reminders for incomplete Safety forms

Invoice Settings
Choose Invoice Due Date
Invoices can be generated:
At the time the registration is made which is invoicing in advance, or
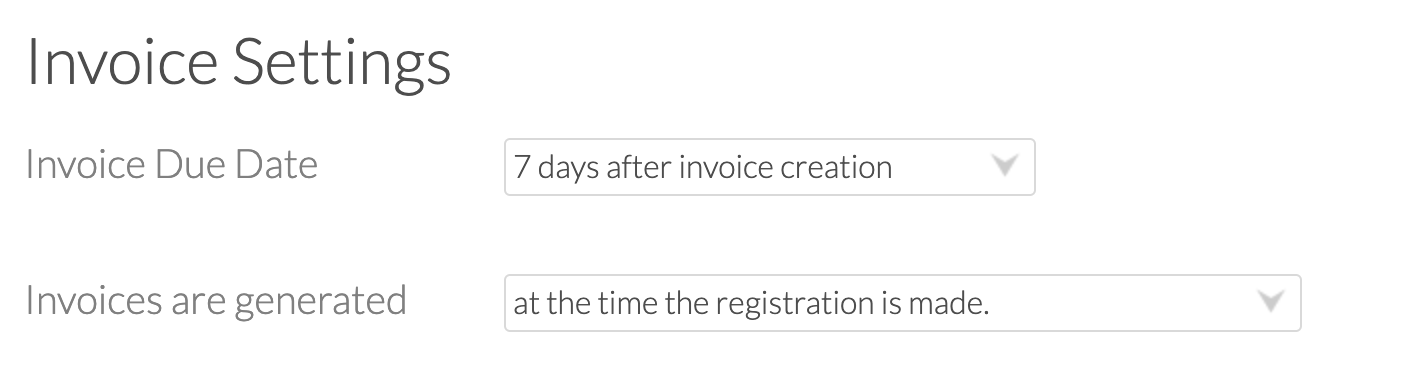
Only once you as a provider have confirmed the place in a team that is invoicing in arrears

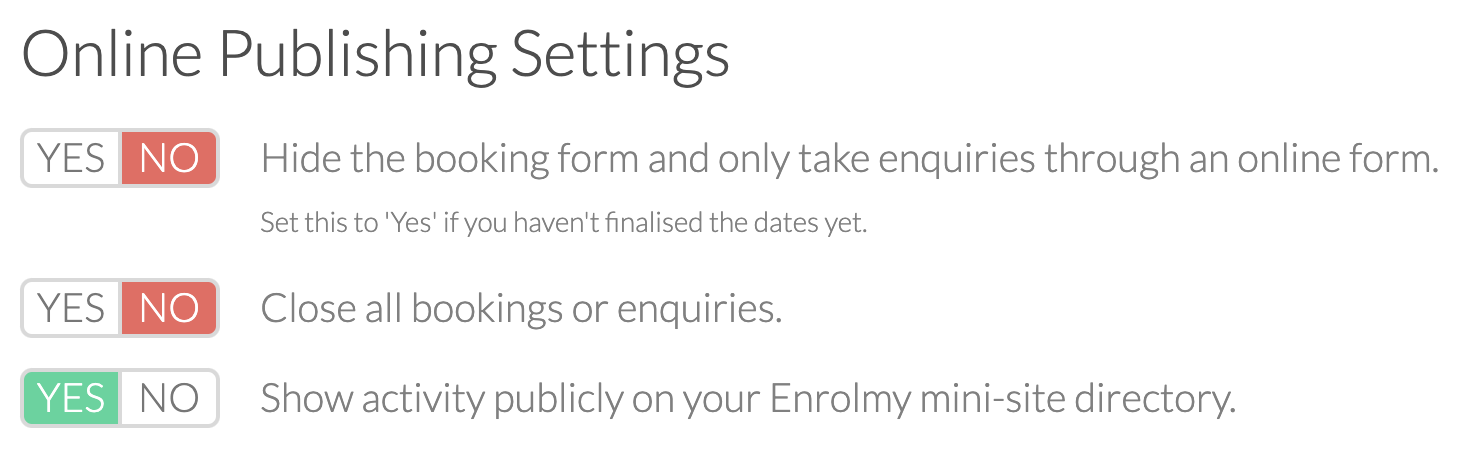
Online Publishing Settings
To enable customers to use the booking form to make bookings ensure the booking form is not hidden by selecting No
To allow bookings or enquiries coming through for this activity, click Yes
To publish the activity online and enable customers to find your minisite, click Yes
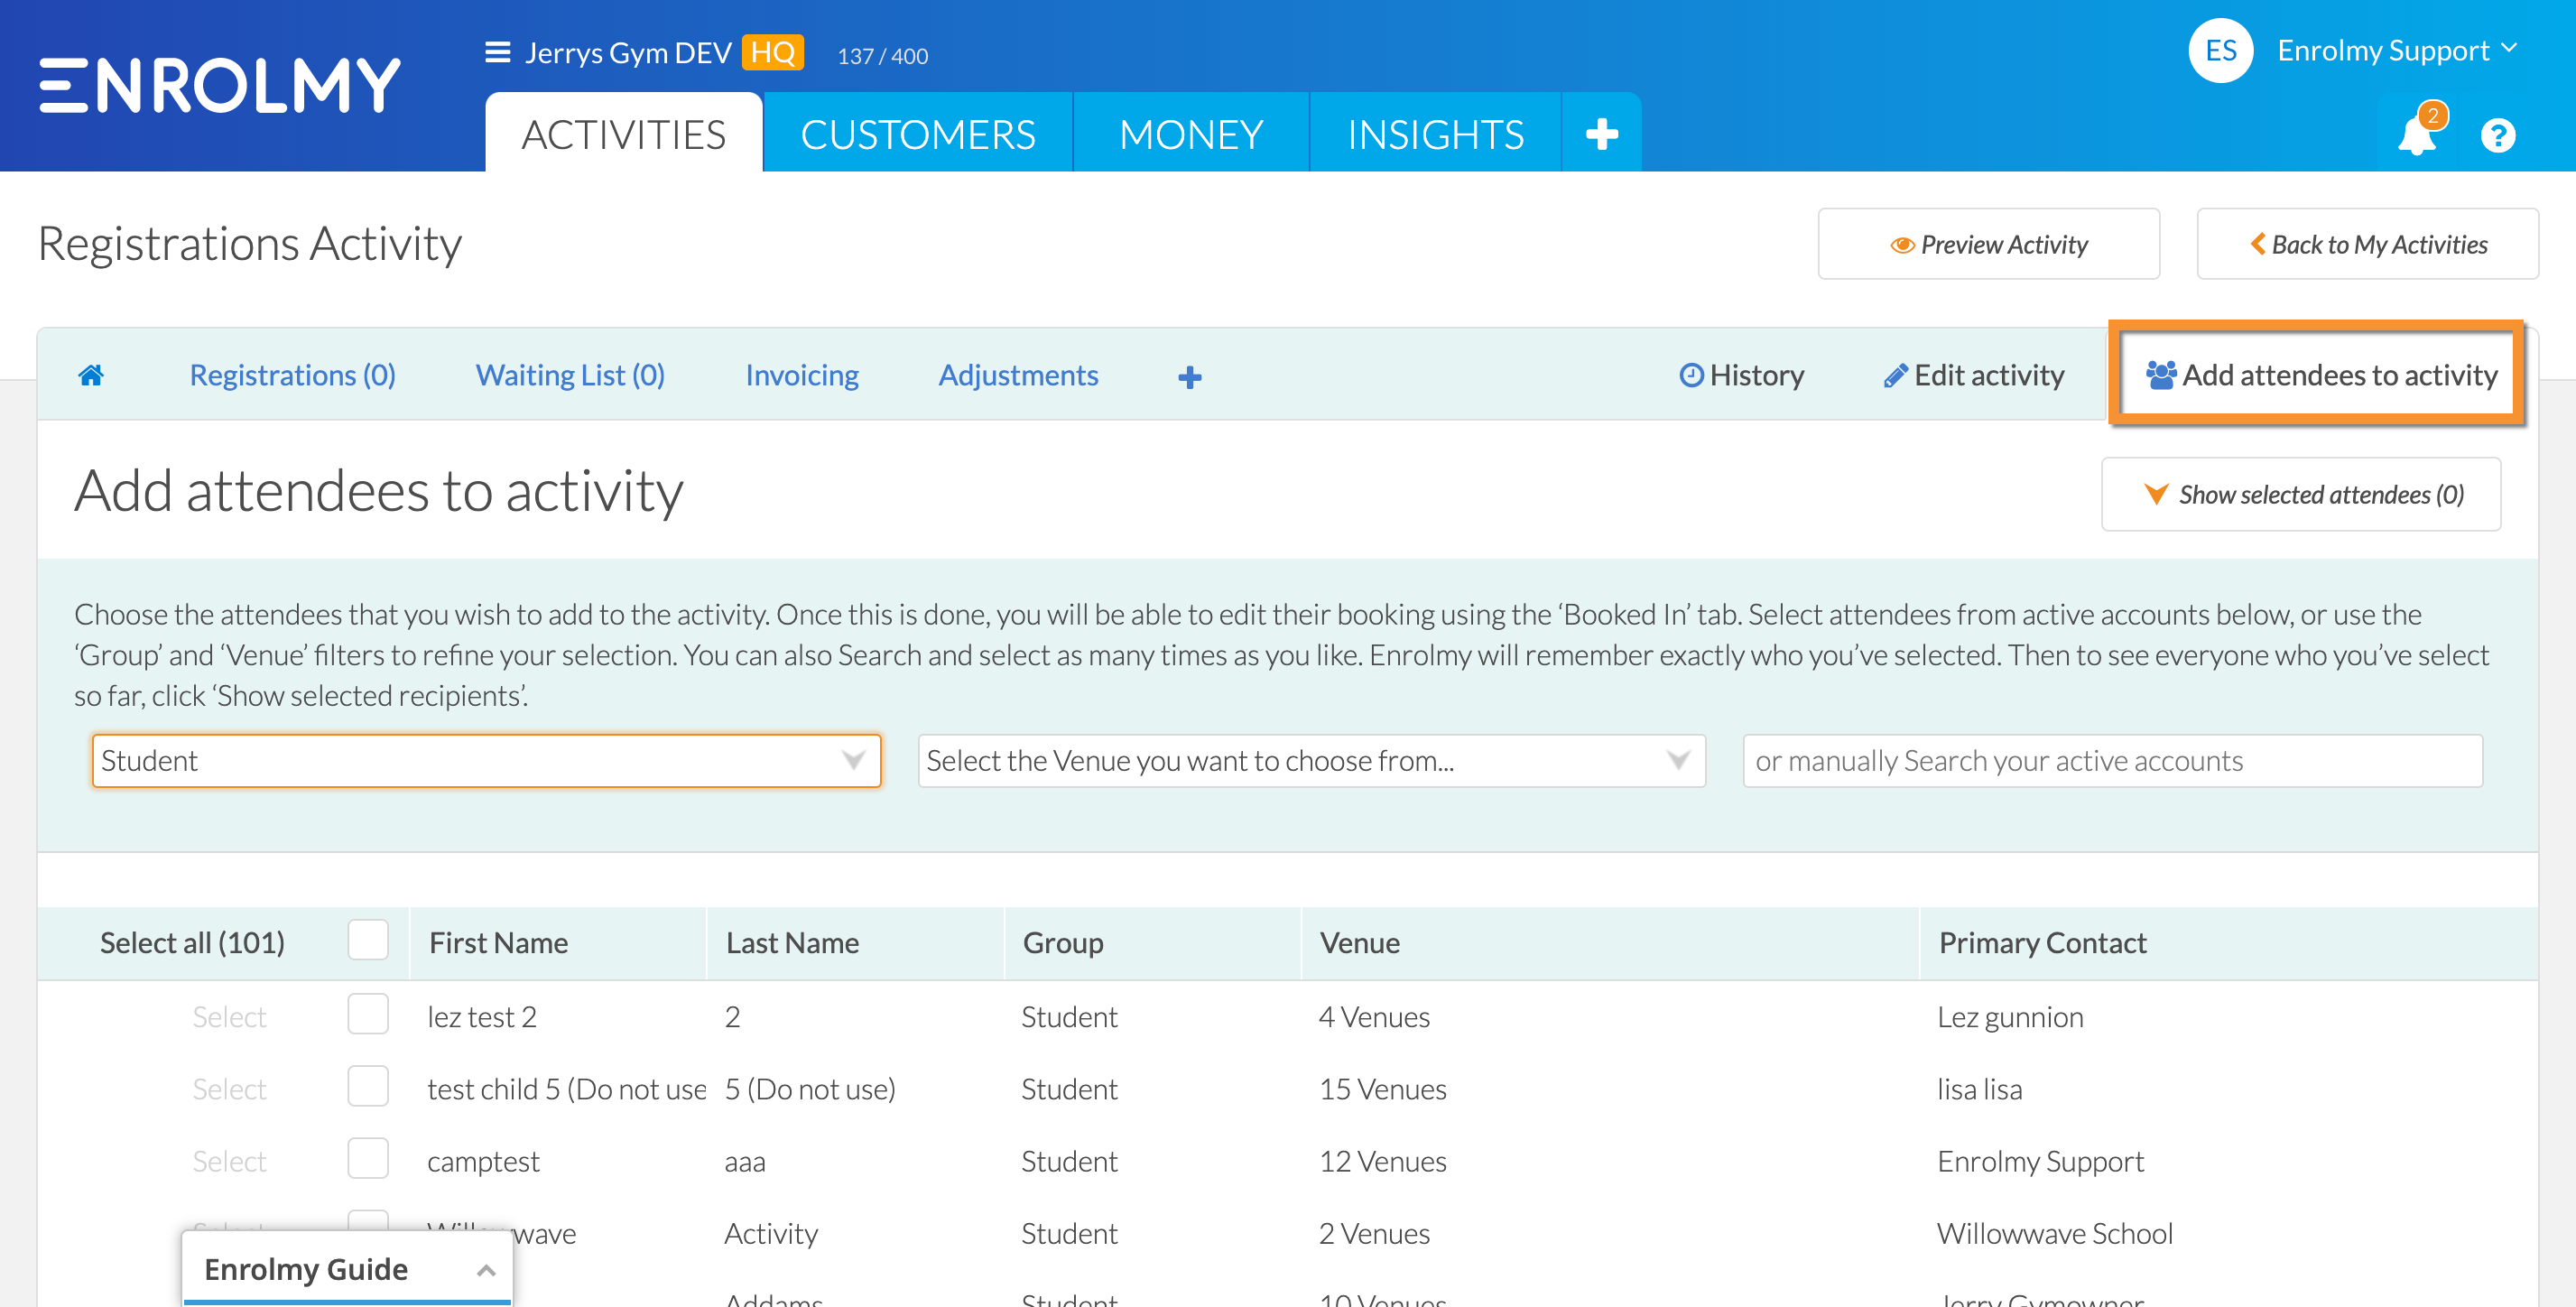
Adding Attendees to Activity
Attendees can be added in bulk into a Registration / Camp activity.
Adding Attendees to Another Activity
It’s possible to use the Add to another activity option between Registration and other activity types (Team Sports, Classes and Lessons, Online).
A common use case for this might be to use a Registration activity to take registrations of interest prior to forming classes. Once registrations have been taken attendees and classes created, attendees can then be added into, for example, these Lessons and Classes activities and invoiced in bulk.
Congratulations! You now know how to set up and use Registration / Subs Activity Type!
Last updated: